AppCenter is helpful for us to build our App along with we can test our app on 1000+ physical devise which is hosted on cloud. With the help of AppCenter we can distribute our build for testing purpose and after that we can deploy on App Store and Play store.
AppCenter provide a facility to monitor your App with their analytics and crashes.
AppCenter does support following platform
- Objective-C/Swift
- React Native
- Cordova
- Xamarin
AppCenter does support following OS
- iOS
- Android
- Windows
- macOS
It is good tool for developer who is developing mobile application. Here developer can create build environment with AppCenter also while check in code, build will automatically trigger and after successful build .ipa or .apk will create and distribute to our app store or play store.
Prerequisite : Need one Repository where you are storing your code that repository could be :-
- Visual Studio Team Service.
- GitHub.
- Bitbucket.
Step 1
(Sign up in AppCenter)
Open your browser enter Url:- https://appcenter.ms . after entering following screen will open.
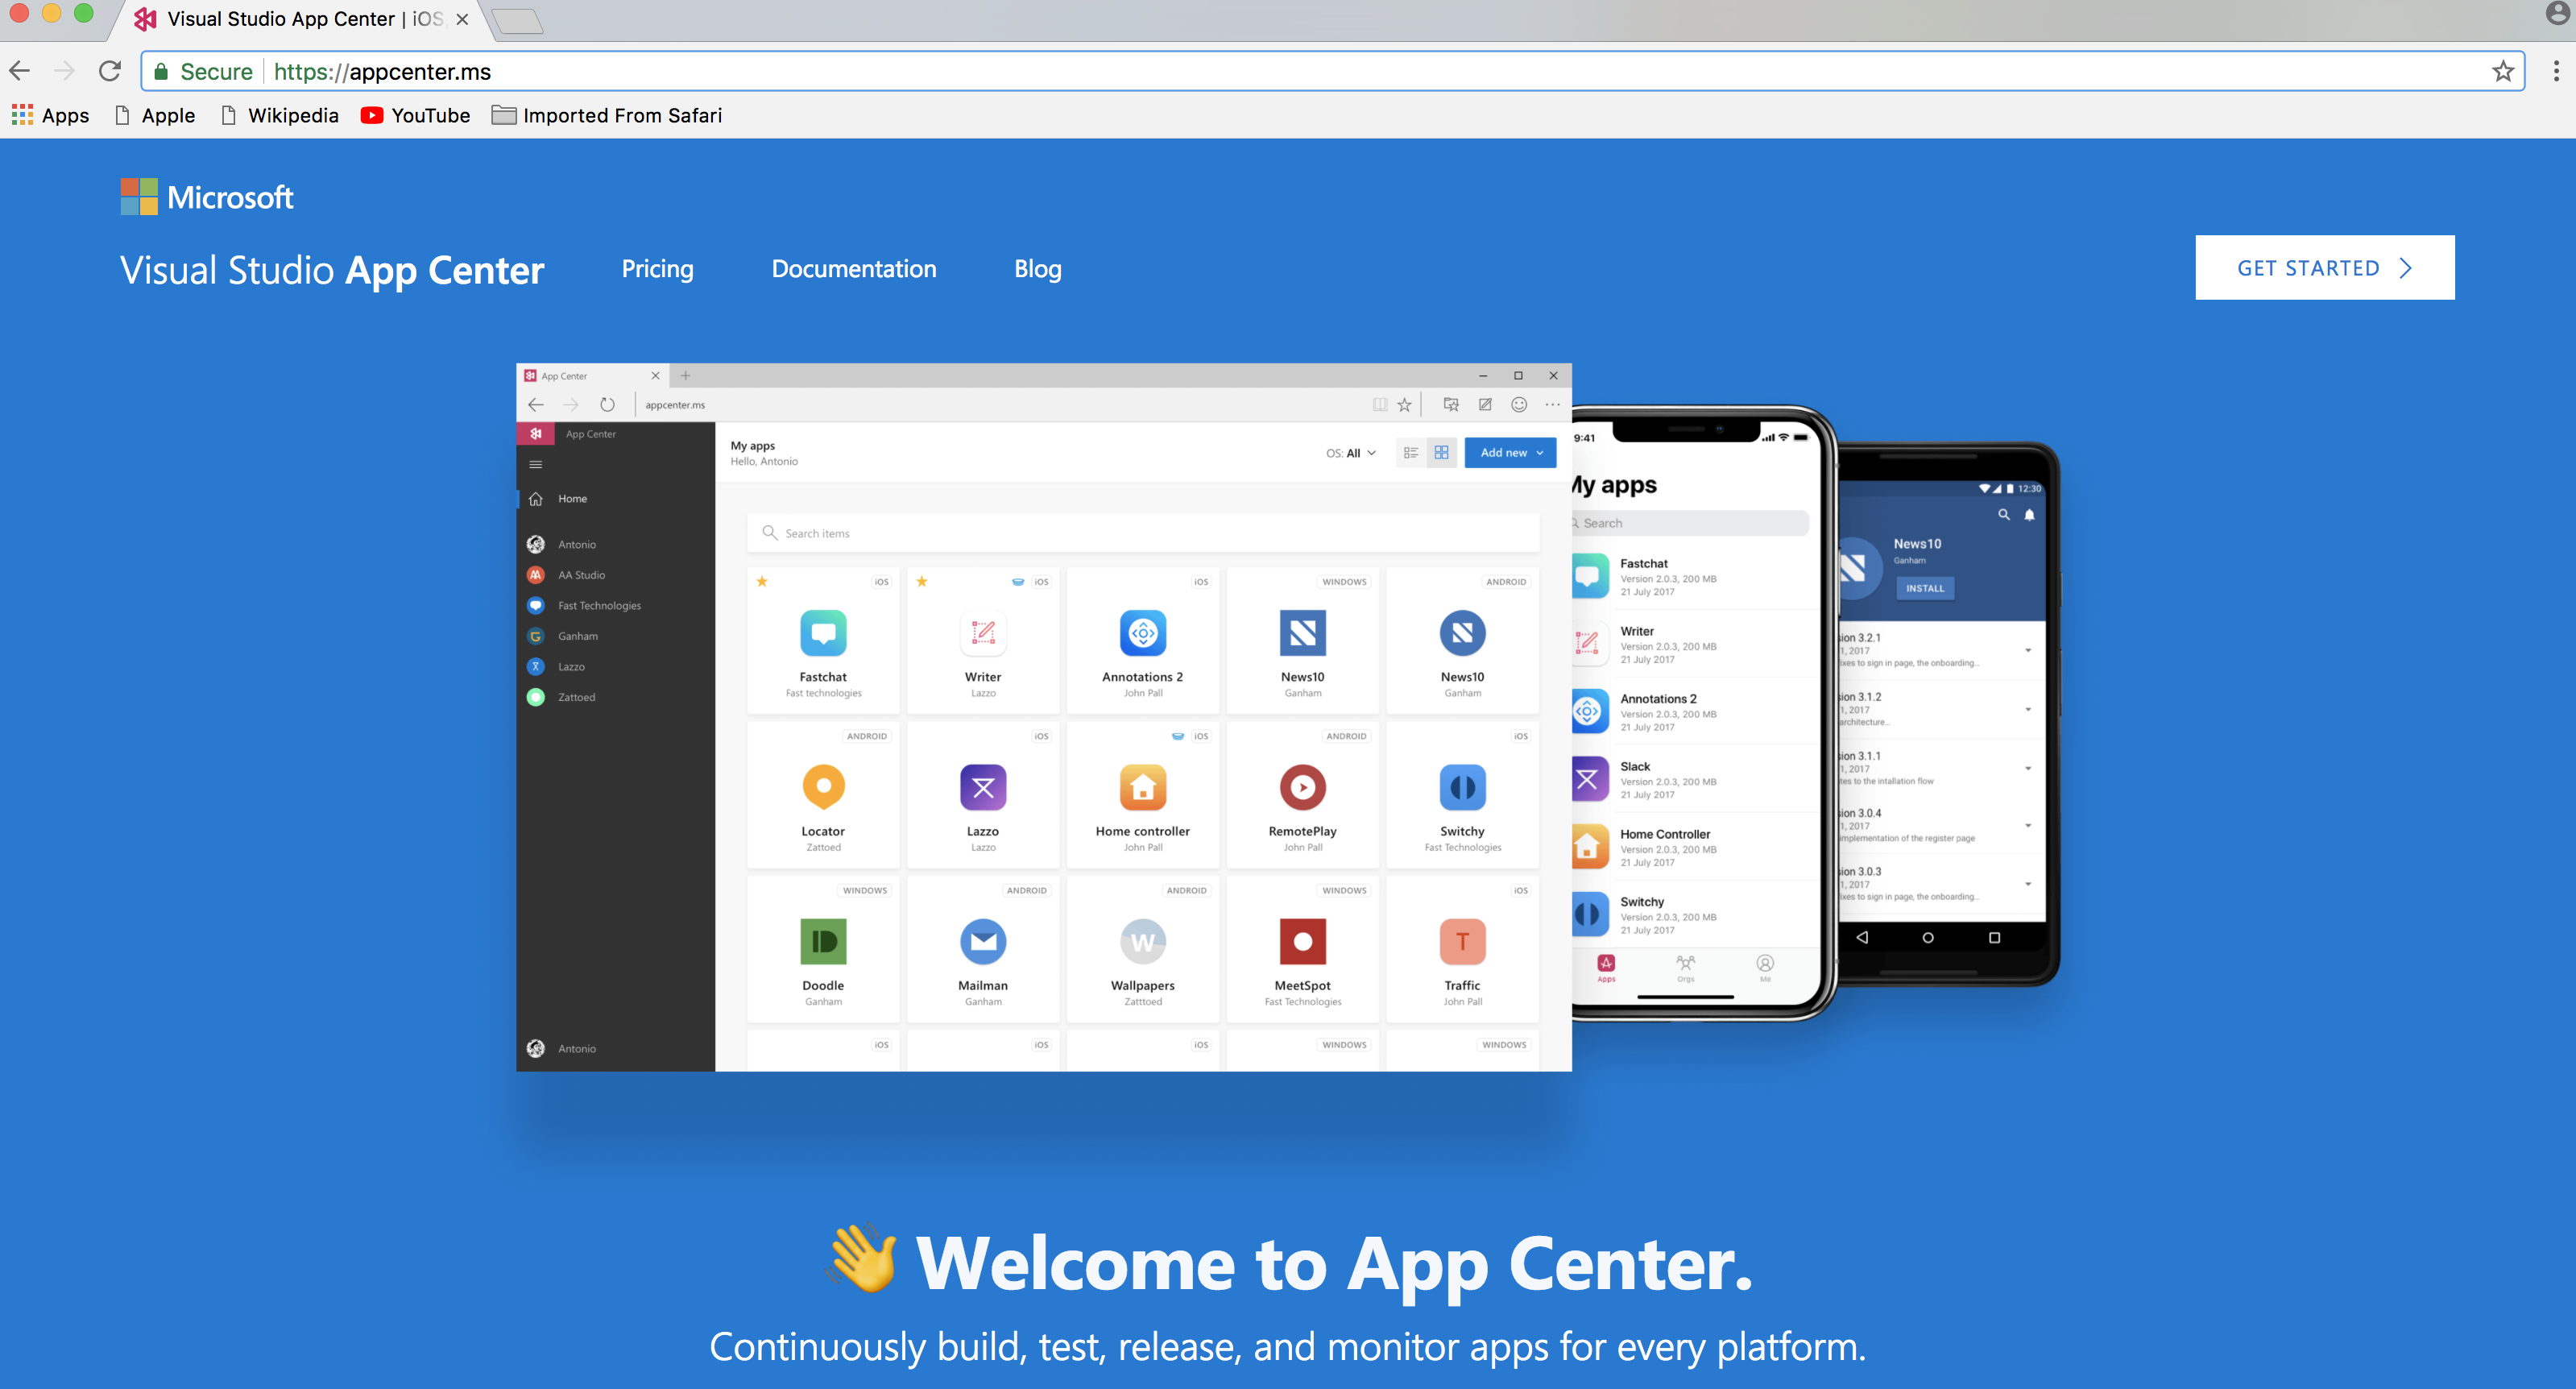
click on Get Started.

in this screen you need to sign up. Or if you have Outlook, GitHub, Facebook and google account you can continue with that account after clicking on relative option.
I use my outlook Id so I clicked on outlook you can chose based or choice.
Now SignUp process end.
After that it will navigate on following screen.
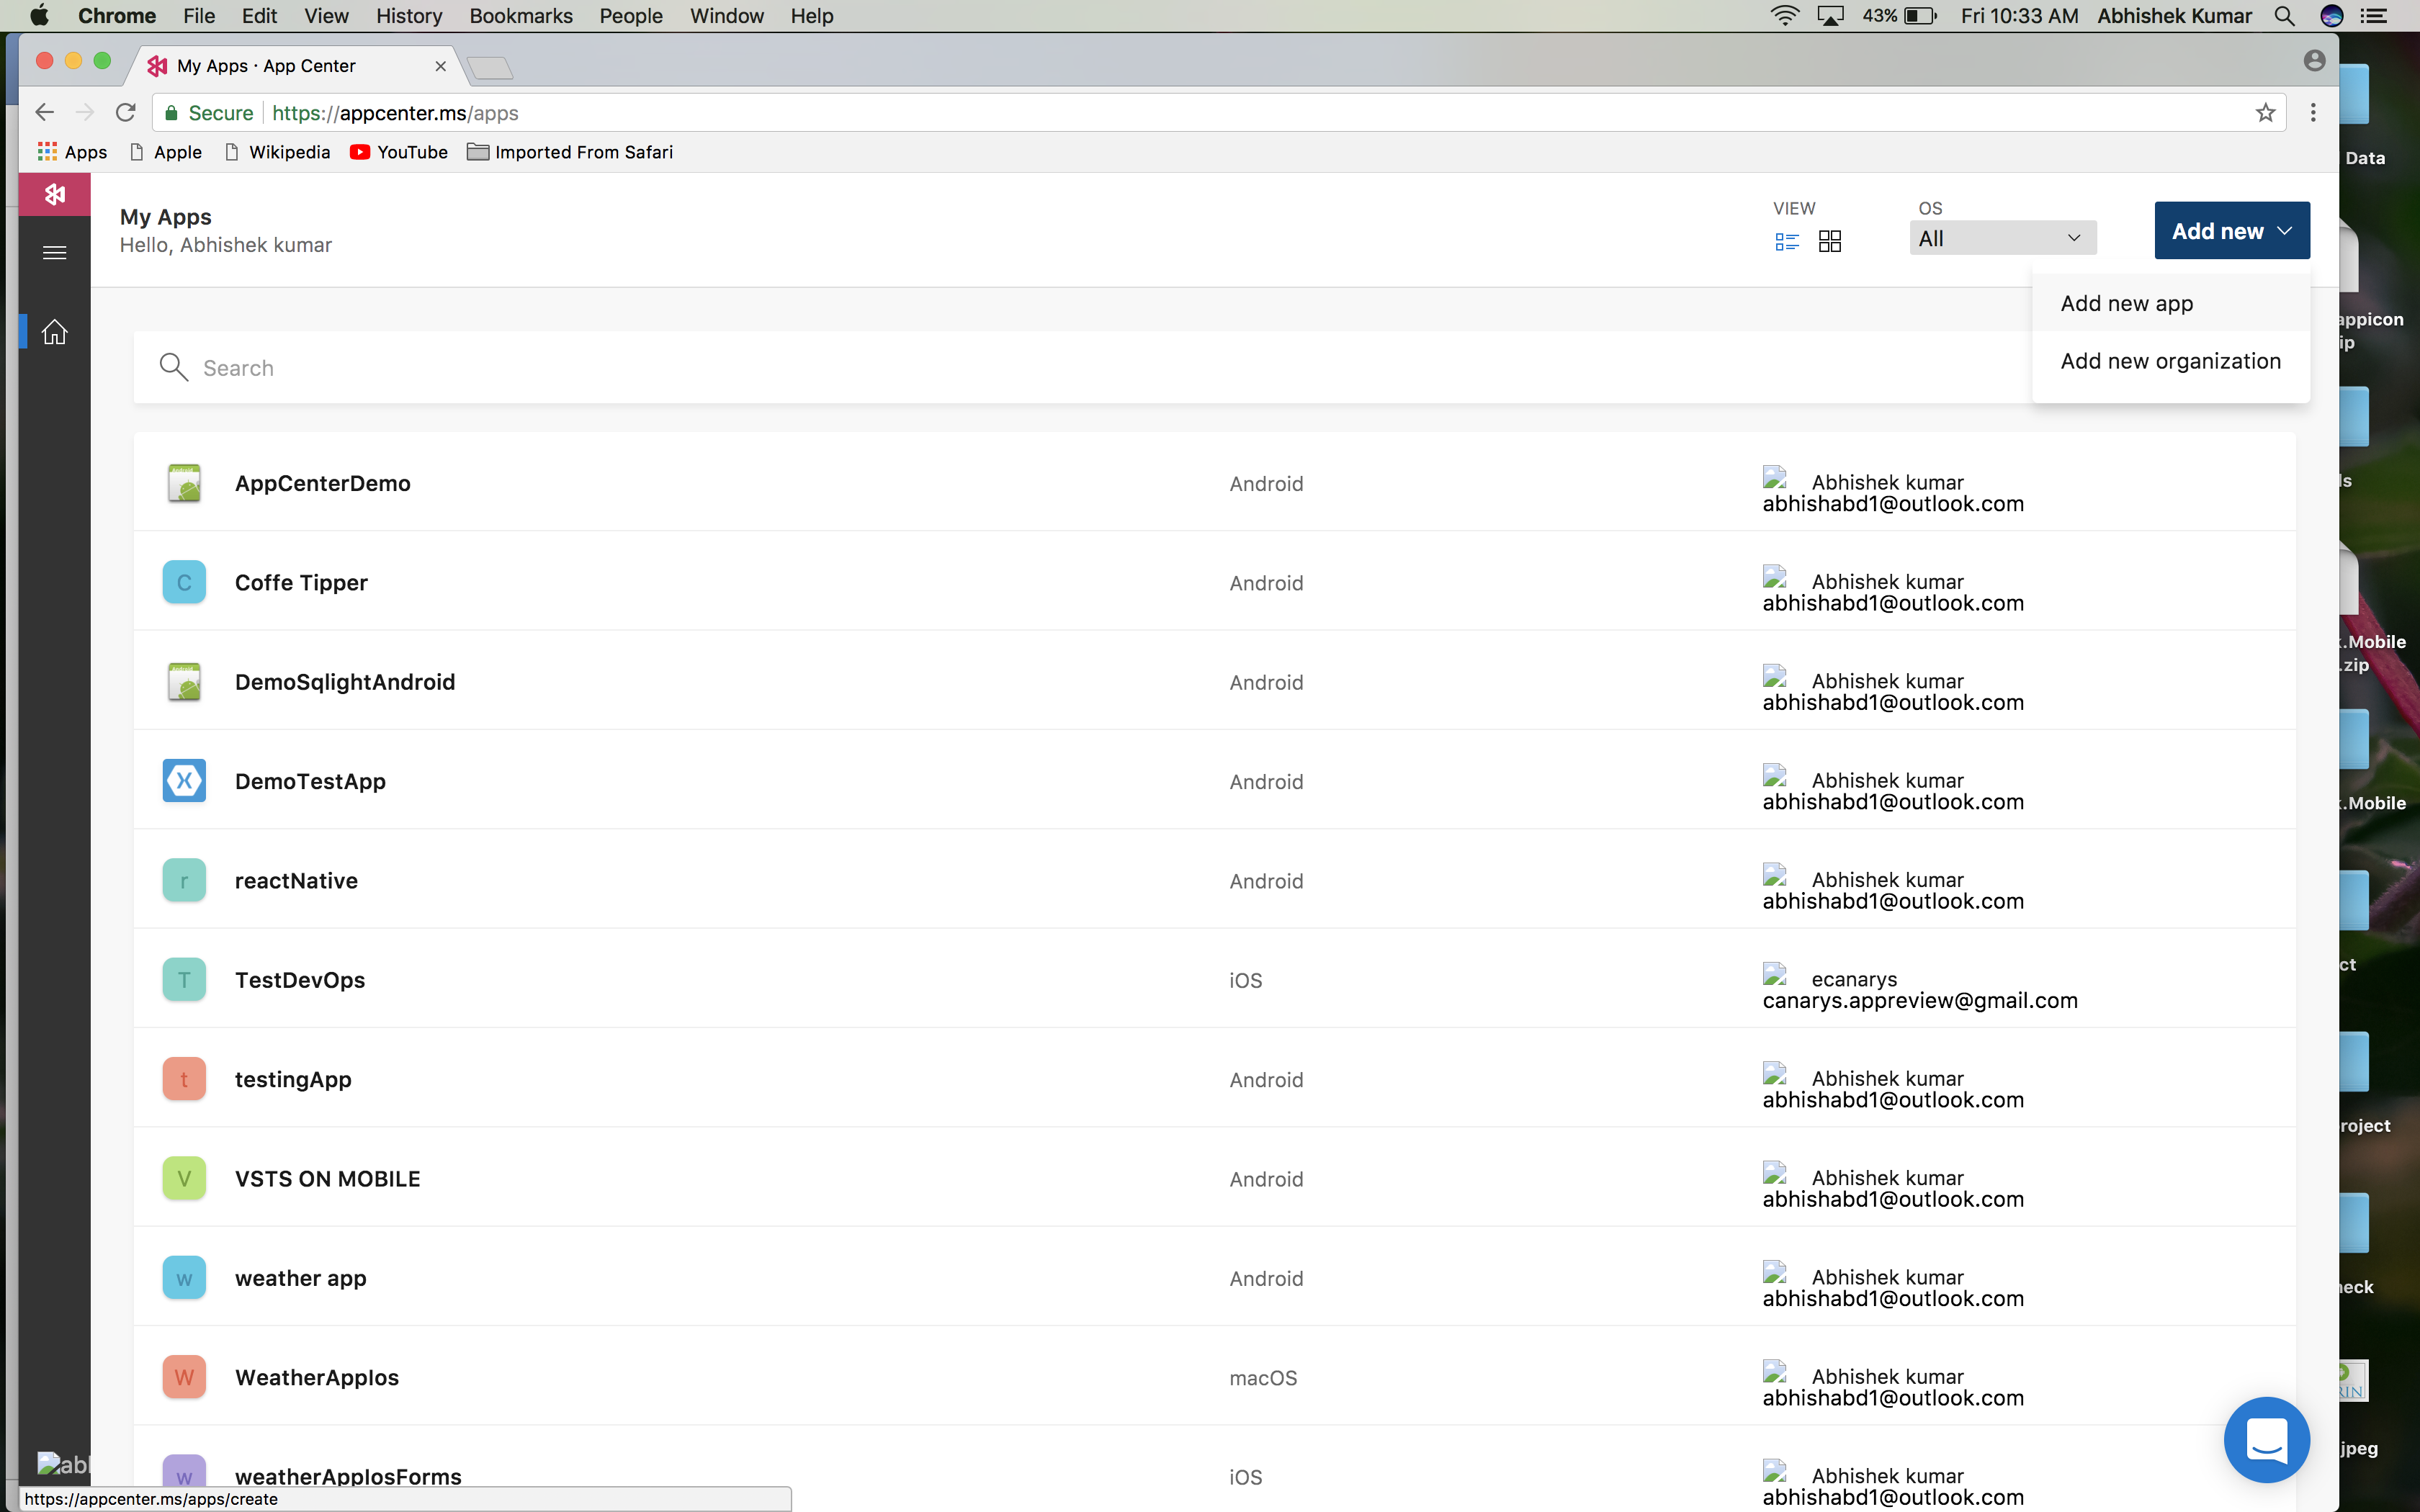
I am already using it so here you can see many App which I created. But in your case it will be blank.
Step 2
(Creating App )
As you can see on previous screen there is option of “Add New” so click on that and chose “Add new app”.
Add new -> Add new app

Here add your “App name”, Description, in this window you can select your OS and Platform. I am using Xamarin so I select Xamarin in Platform and Android in OS. After that click on “Add new app" button.
If you able see this screen that means you have successfully created your App in AppCenter.
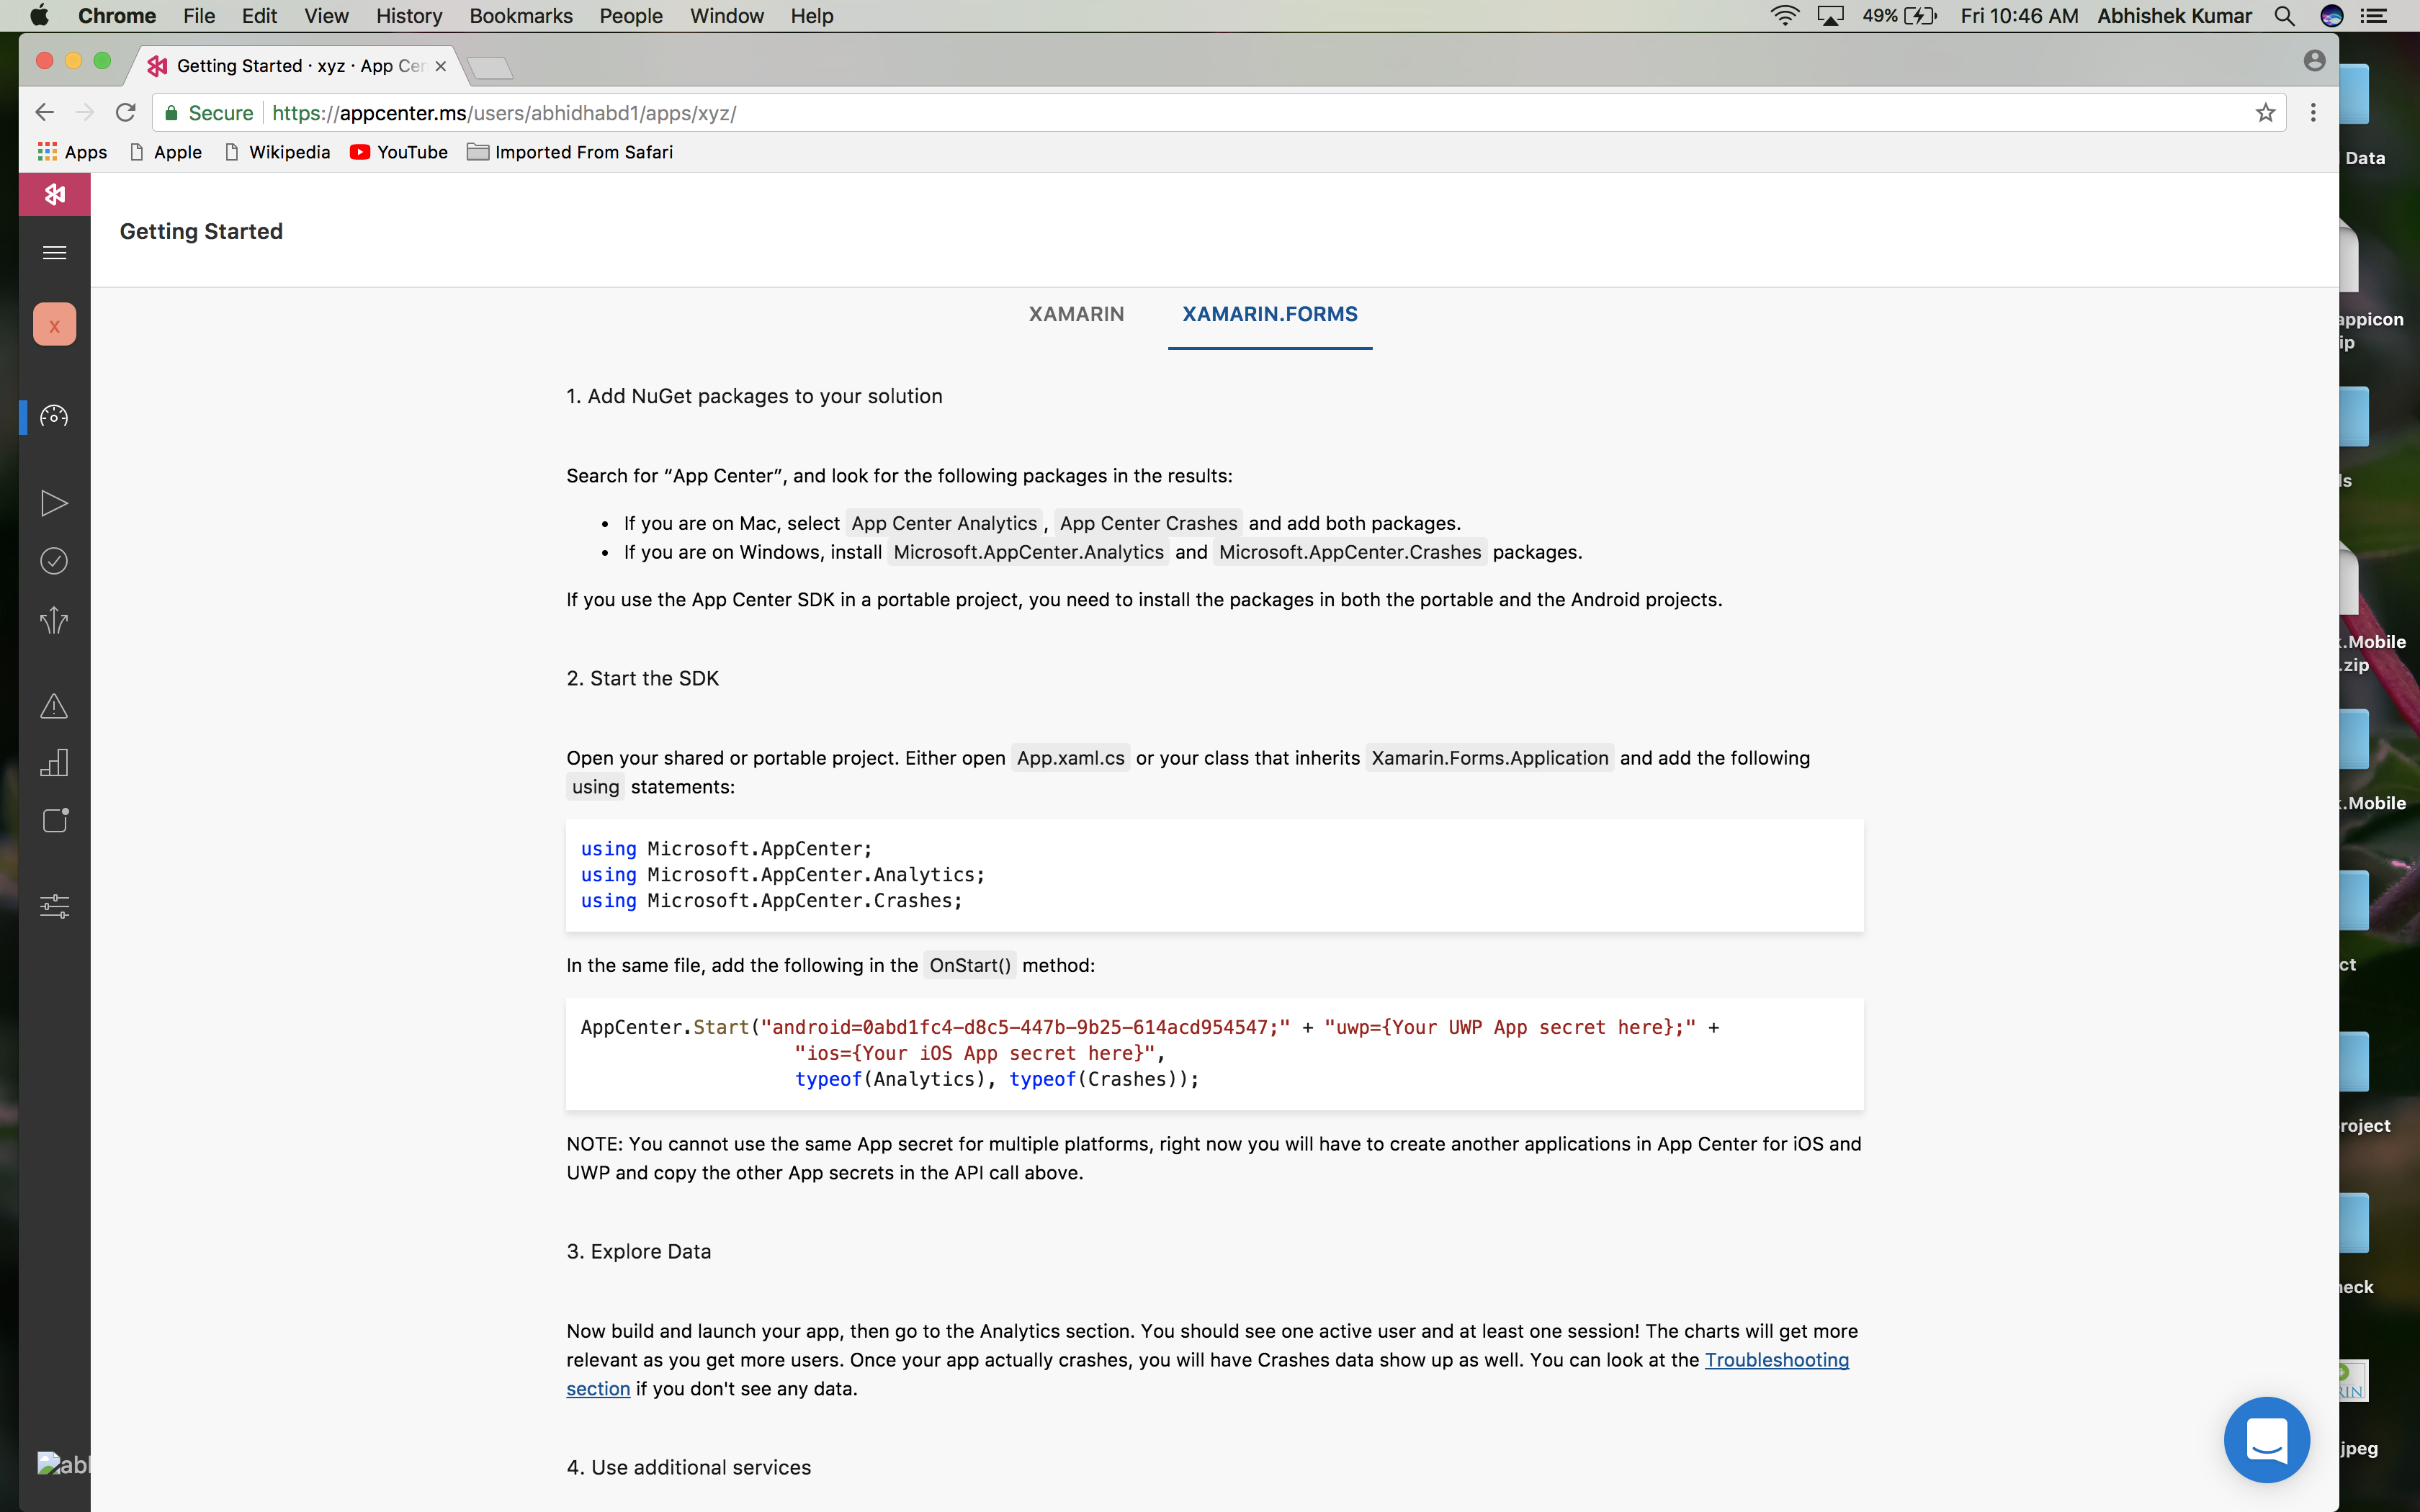
Based on your selection of Platform AppCenter will provide some instruction which we need to follow so we can trace our App crashes and download.
As I mention I am using Xamarin Form so I need to follow this instruction and here AppCenter instructing me to add SDK in your app. And write this code in your App.cs file.
I completed this step in my project. you also need to do same based on platform selection AppCeneter will provide instruction for you.
Step 3
(Connecting to your repository & Creating Build Environment ).
In this step we need to click on build icon as you can see in the image.
After clicking on Build Icon you will get this screen.

In this step as you can see here there is three option to connect your repository with AppCenter. So I am choosing Visual studio Team Foundation.You can chose based on your’s repository availability.
After selection, you will get following screen.

In this section you have to chose your repository .
Note:- if your repository id is different from AppCenter Id then it will ask for login so just you need to login there after that you can access your repository from here.
So, After selection of Repository finally you have successfully connected your AppCenter to your Repository and you will get following screen.
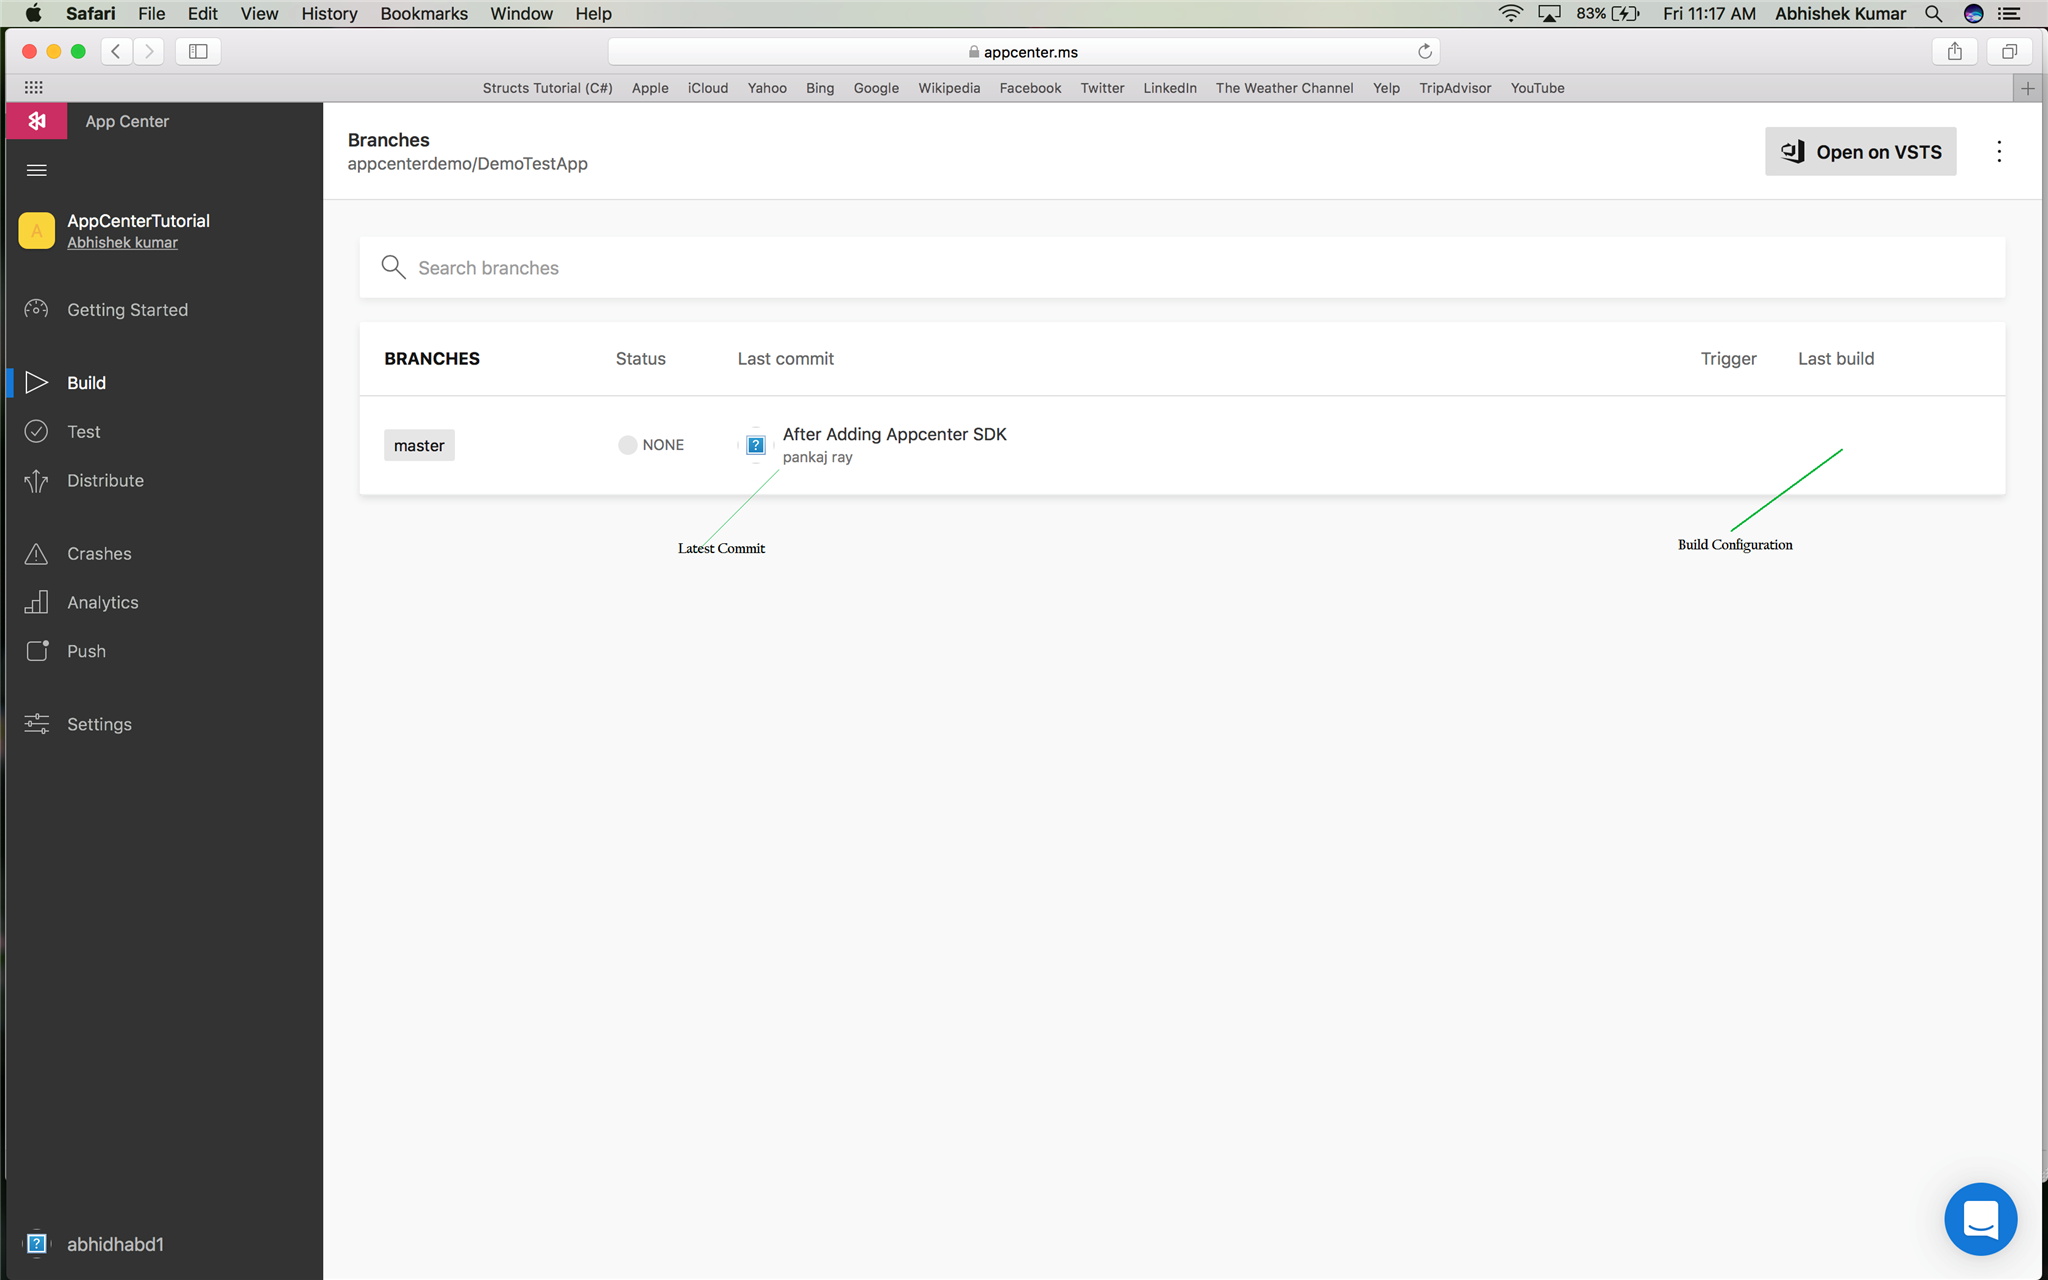
Here you can see your latest commit. That means you have successfully connected to you your repository to AppCenter.
Now we will Configure Build Environment.
Take your courser right side as I am showing in the picture. Here setting icon will populate when you put your cursor. Just click on build configuration icon.
Then you will get following screen.

As you can see in this screen there is some step which we need to fill.
PROJECT :- as my project is in Xamarin Forms. So it will take executable file path. Here it is taking “DemoTest.Droid.csproj” this step it will take automatically.
CONFIGURATION :- Here you can chose Build mode, it will be “Debug” Or “Release”.
MonoVersion :- here I have selected verison 5.4.1.
Build Scripts :- I am not using any build Scripts. So I skipped this step.
Build Frequency :- here you can chose your build frequency as per your requirement. As I am doing CI.CD so I chose here “Build this branch on every push”.(When developer commit the code in repository build will automatically start).
Automatically increment version code :- I make it on.
Enviroment Variables :- I make it on.
For Sign Build follow following screen.
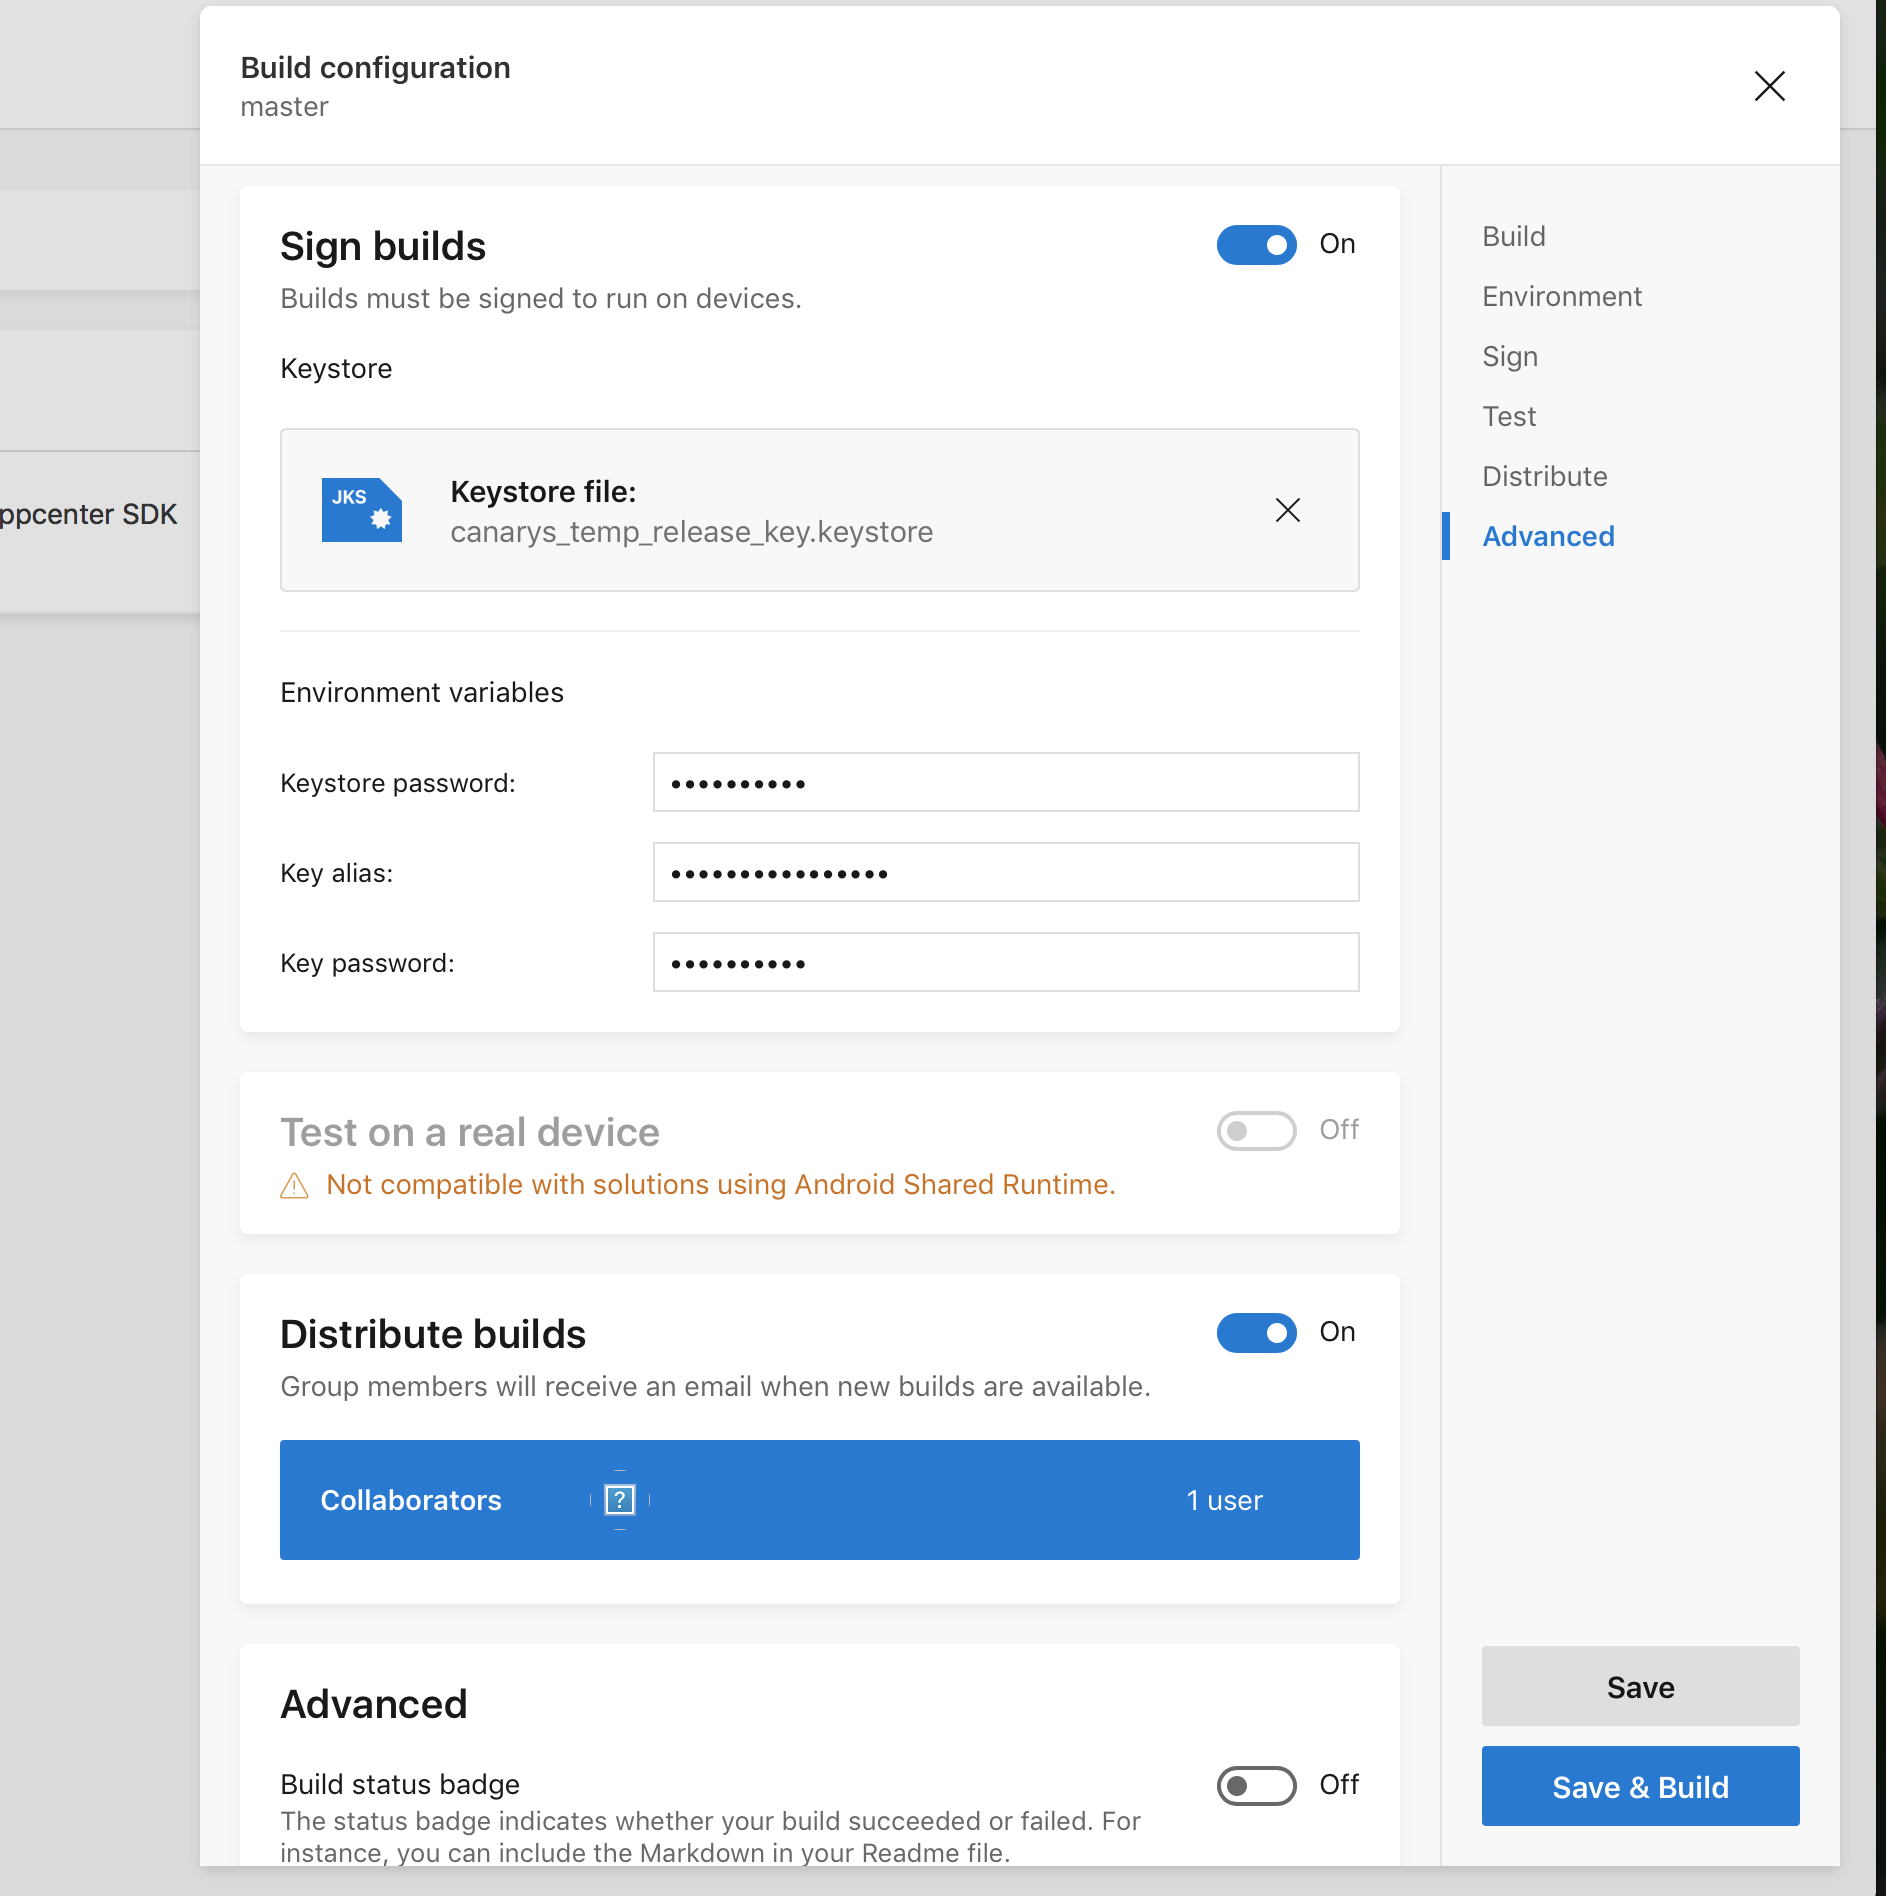
Sign Builds :- Make it On, then you will get more option like you can see in screen.
Here we have to upload Keystore file.
Need to add keystore password.
Key alias, Key password.
Distribute Builds :- Make it On
Final step is click on “Save” OR “Save & Build”.
I clicked Save & Build.
After clicking Save & build button build will start. You can see it in following screen.
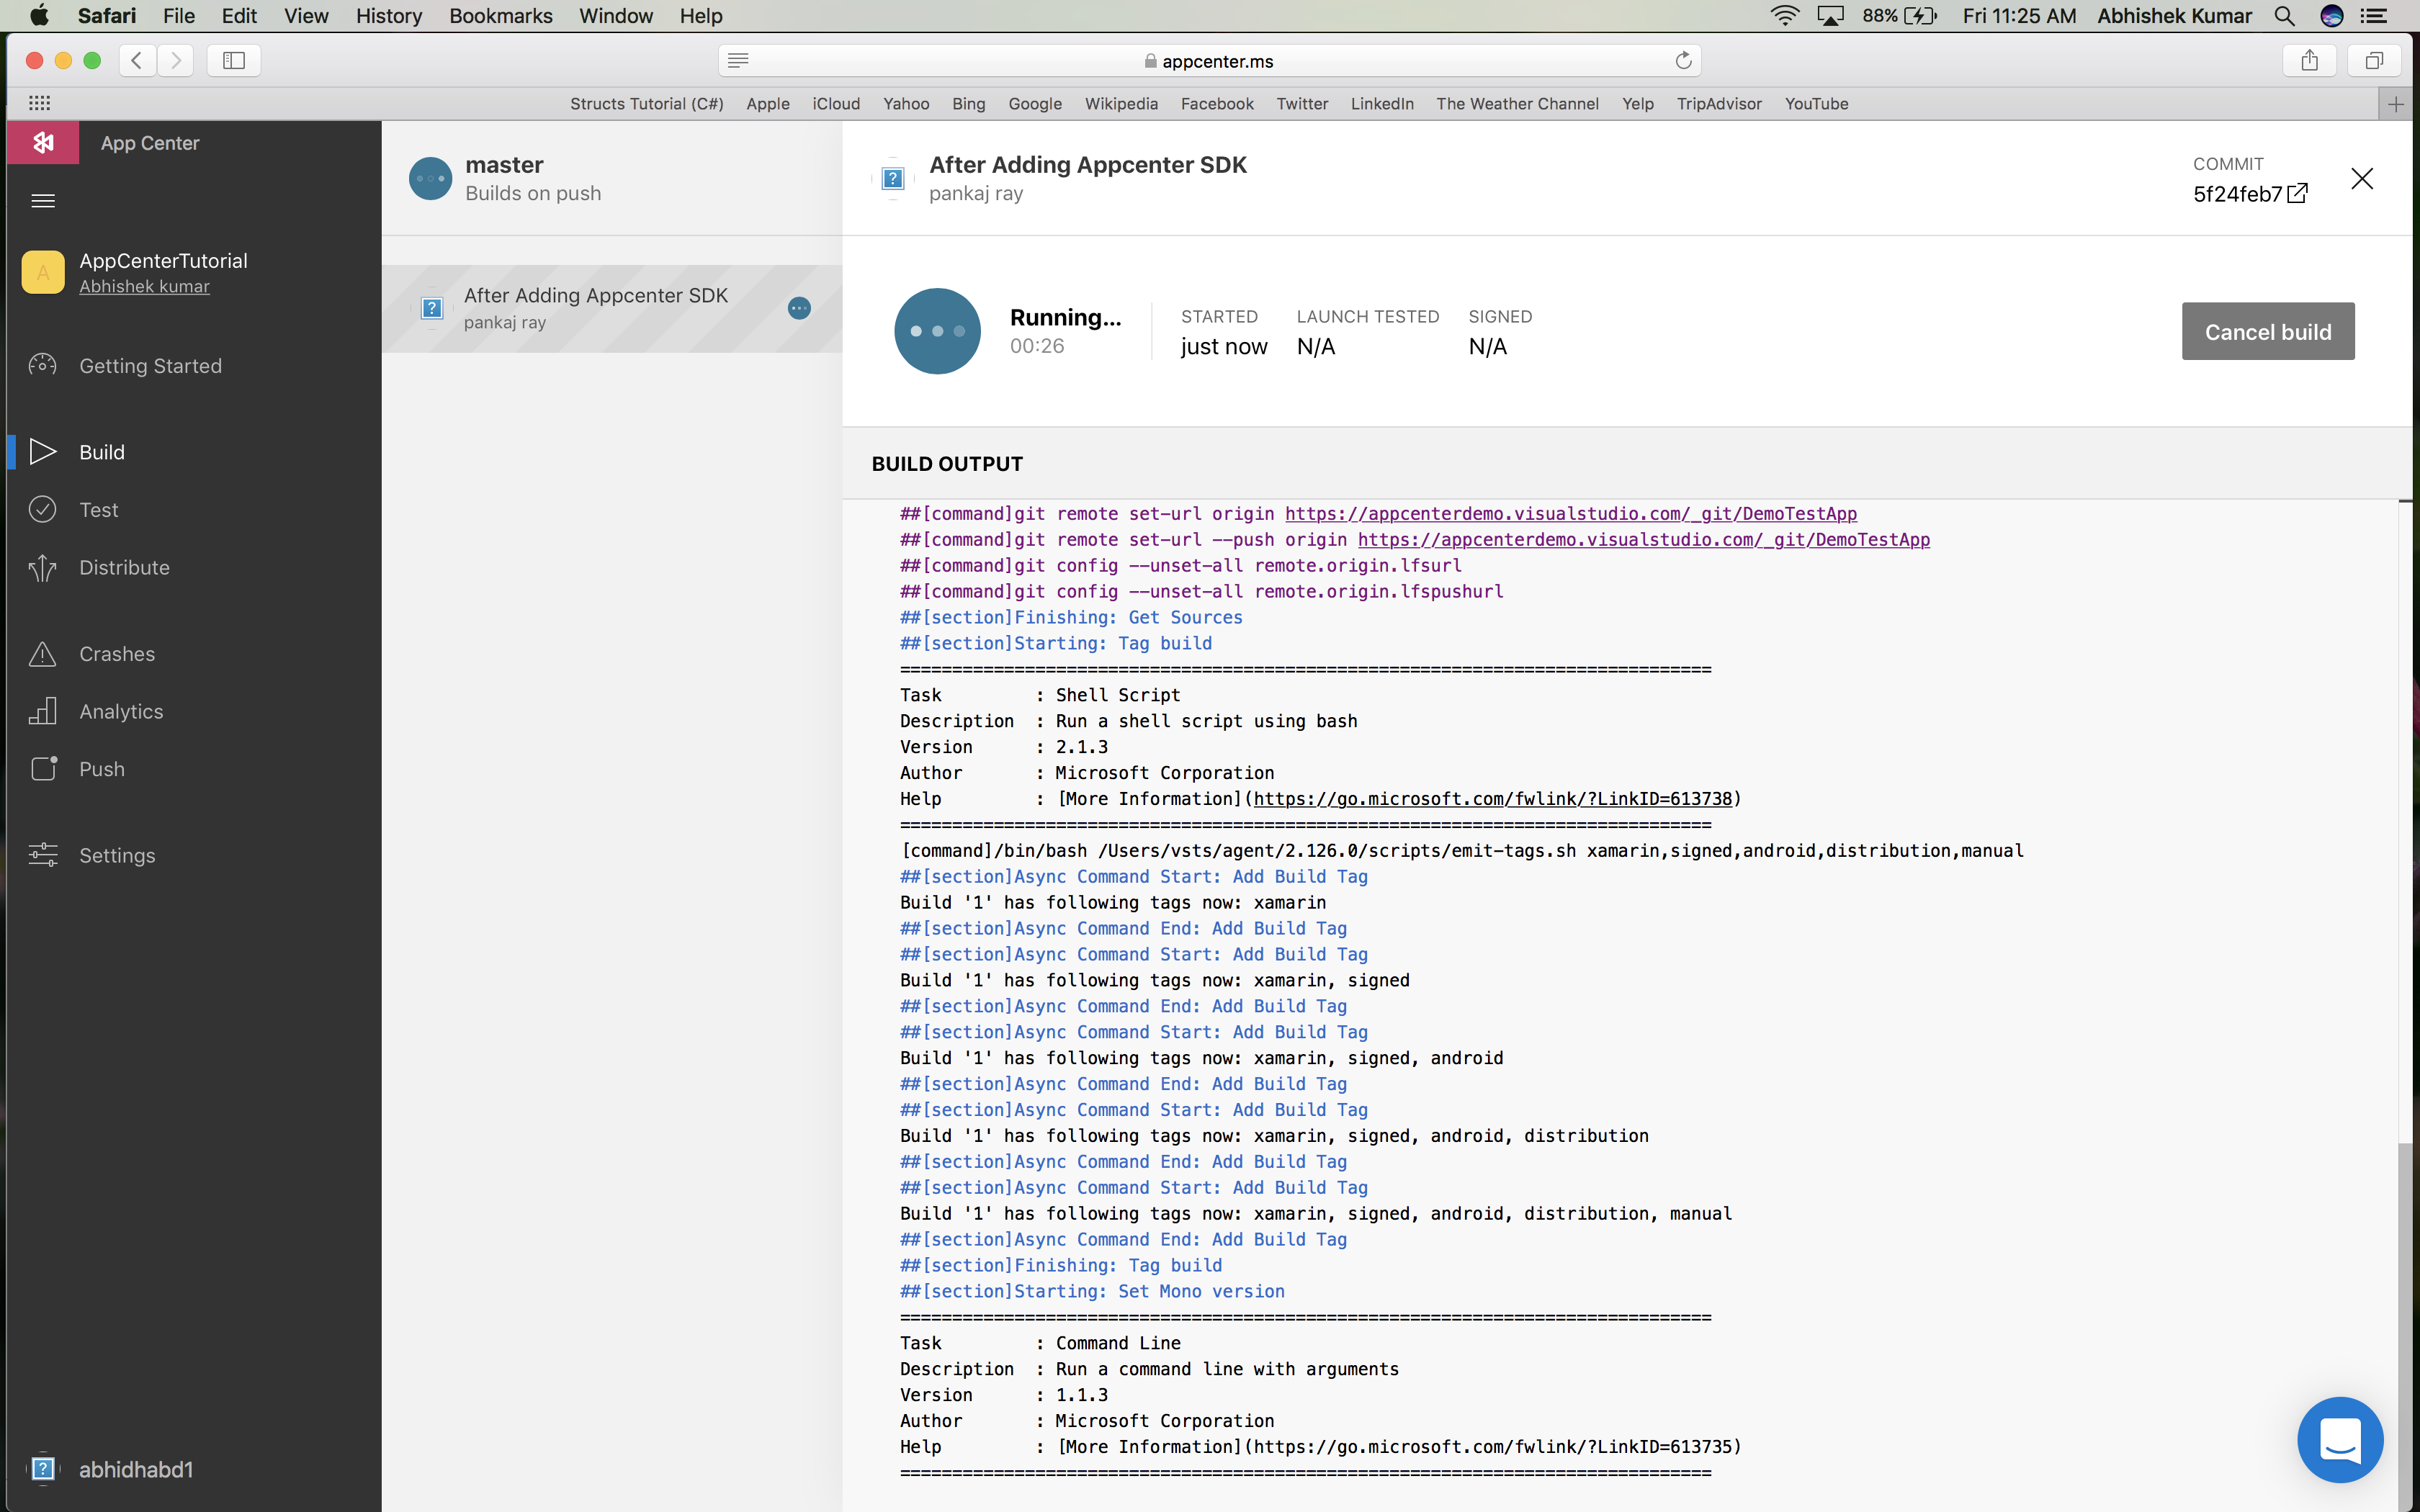
Build process will take some time.
So as you can see this build is running on web. So you don’t need to worry about any thing if you close your window although your will be continually run on web.
After completed this build you can get following screen also you will get notification mail On your email.

Waoo…my build get successful.
Step 4
(Distribution of Build)
Here you can See there is two option displaying on right corner of top.
“Distribute” and “Download”
From here you can download .apk by clicking on download button.
But here, we will do “Distribute ” so we will click on distribute Button.
After clicking on Distribute Button you will get following screen.

Here you can see your collaborator also you can add more collaborator by clicking on that list.
Select list of collaborator and click on "next button".
Then you will see following screen.

Here you can write release notes in that box. And after writing Release note click on “Distribute Build” Button.
Your new will be distributed in you Collaborator. They will get notification on their mail. Which you have added while adding collaborator list.
So here successfully we have done CI.CD with VSTS Repository & AppCenter.
From AppCenter you can direct upload your build on App Store and Play store.
For doing this just we need to add some more step. And after that your build will reflect on your App store and Play store.
Conclusion:
That’s it, that’s all about appCenter deployment process.we have learnt so far how we can automate the deployment process with just one click.
For any queries please feel free to contact abishek.kumar@ecanarys.com.