Following the below steps you can build and deploy your ASP.NET app to Azure from either Visual Studio Team Services
Upload your code
Upload your latest code to Visual Studio Team Services repository.
Create the definition
- Login to your VSTS account
https://xxxxxxxx.visualstudio.com/
- Open your team project in your web browser.
https://xxxxxxxx.visualstudio.com/MyFirstProject
Verify that the VSTS version control is updated with the latest code
- Create a build definition.
· After you have a Windows build agent configured, following the below steps you can define a CI build process that compiles and tests your .NET app whenever your code is checked in to the version control.
· Goto the build tab on top of the page and create a new build defnition

· Choose the Visual Studio Build template

· Specify the code you want to build and select the continuous integration (CI) trigger.

· Save the defnition after providing the required parameters in each build steps you have added in your definition.

Queue your new definition to make sure all the build steps for executed successfully. You can follow the execution of the build process from the console.
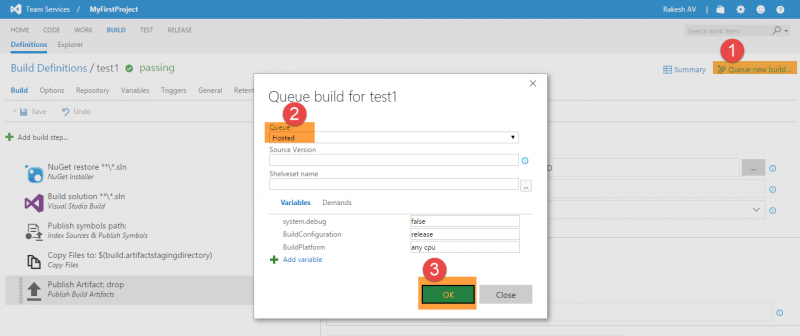


You now have the continuous integration setup for your build. And the build runs whenever there is a check-in to codebase.
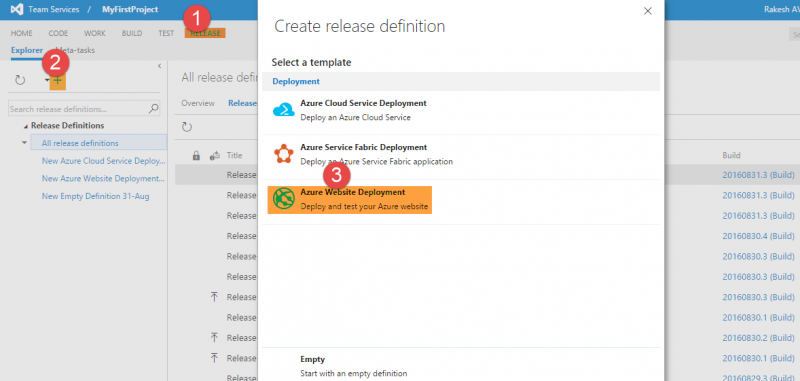
4. Similar to the build definition, we need to define a release definition.
· Navigate to your project and click on the release tab,
· Add a new release definition and choose the type of template and create the new definition.

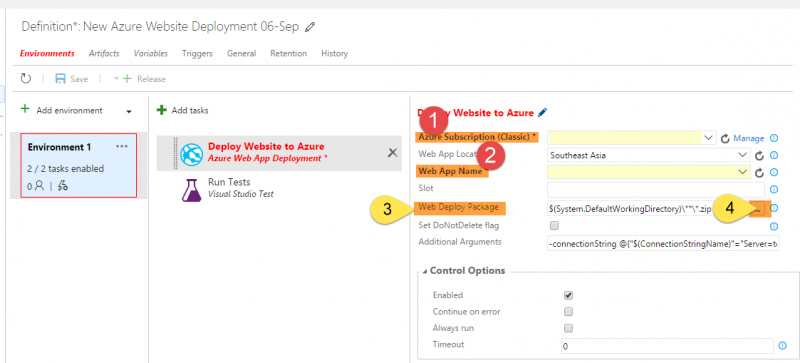
· Make sure the subscription you want to use is selected.
· If a subscription is not available, then add a service endpoint by clicking on mange
· Then choose the name of the webapp which had been created for release.
· Web Deploy Package: browse and choose the path of the package you want to release.
· In the Triggers tab select how the new release should be created. For CD choose continuous deployment and click save

· Click on the (+) release button and create a new release and select the build version from the drop down (this can done manually or go ahead and queue the same build again so the release is created automatically and the package gets deployed).

· You can follow the release on the logs tab within the release you created.

You now have the CI/CD setup for your project.
Once the release is successful you can go to the azure webapp URL and find the updated version.