Let’s look at CredScan which is a Microsoft Code Analysis extension and it is abbreviated as MSCA in Azure DevOps. This blog outlines a set of simple steps to implement Credential Scanning using Azure DevOps on an ASP.NET application.
Introducing MSCA
Microsoft Security Code Analysis extension is a set of tasks that helps implement security analysis of the files and code in the pipelines. Microsoft has done an amazing job in making this extension available, so that we can make use of automated build tasks to check for some commonly encountered security issues.
The extension is restricted only for customers with a premium license. Please refer the below link to purchase the extension for your organization
This extension consists of the following:
- Credential Scanner
- BinSkim
- TSLint
- Roslyn Analyzers
- Microsoft Security Risk Detection
- Anti-Malware Scanner
However, this blog focuses only on Credential Scanner (CredScan)
What’s CredScan?
Credential Scanner (aka CredScan) is a tool developed and maintained by Microsoft to identify credential leaks such as those in source code and configuration files. Some of the various types of credentials that are commonly found are default passwords, SQL connection strings and Certificates with private keys. The CredScan build task is included in the Microsoft Security Code Analysis Extension.
Let’s implement CredScan in Azure DevOps by making use of an ASP.NET application. This can be used for any other application as well.
Prerequisities
- An Azure DevOps account provisioned
- An Azure DevOps organization, and an Azure DevOps project
- MSDC extension installed in the organization from the market place
- A source code in Azure Repos or GitHub. If you don’t have one you can fork the sample repository below.
https://github.com/CanarysAuto/PartsUnlimitted
Refer the below guide to how to fork a repository if required.
https://guides.github.com/activities/forking/
- Basic understanding of Azure Pipelines YAML.
Let’s do CredScan
Follow the below steps to implement CredScan in Azure DevOps
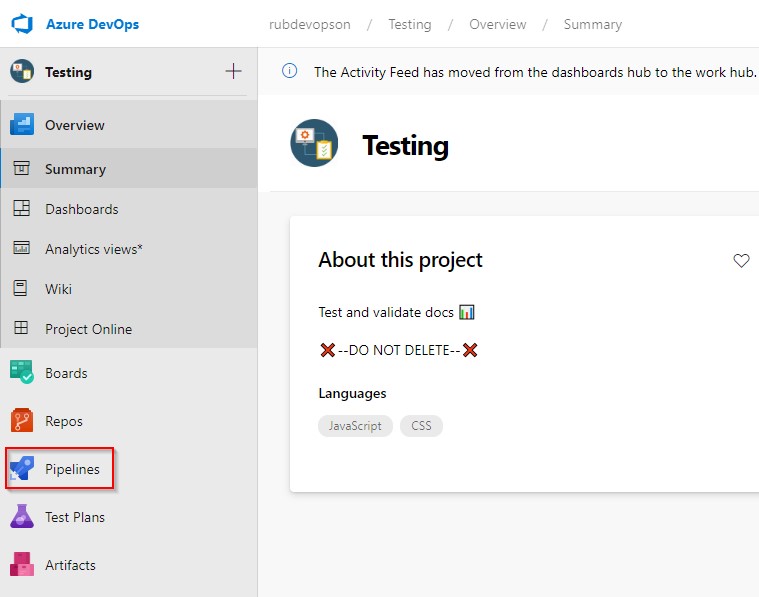
- Navigate to your Azure DevOps project.
- Click on Pipelines
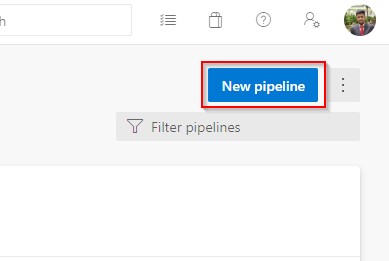
3. Click on New Pipeline
4.Select where your code is. Here, we’ll select GitHub.
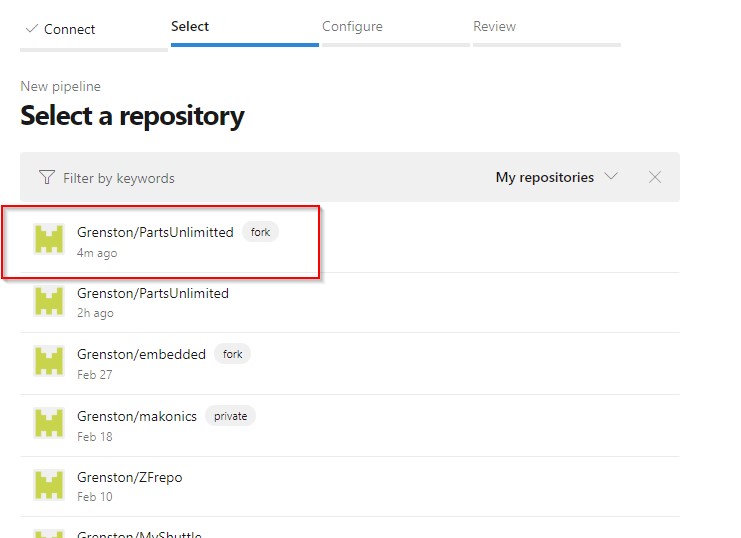
 5. Select your repository. If not connected to GitHub, provide your GitHub credentials when prompted to connect.
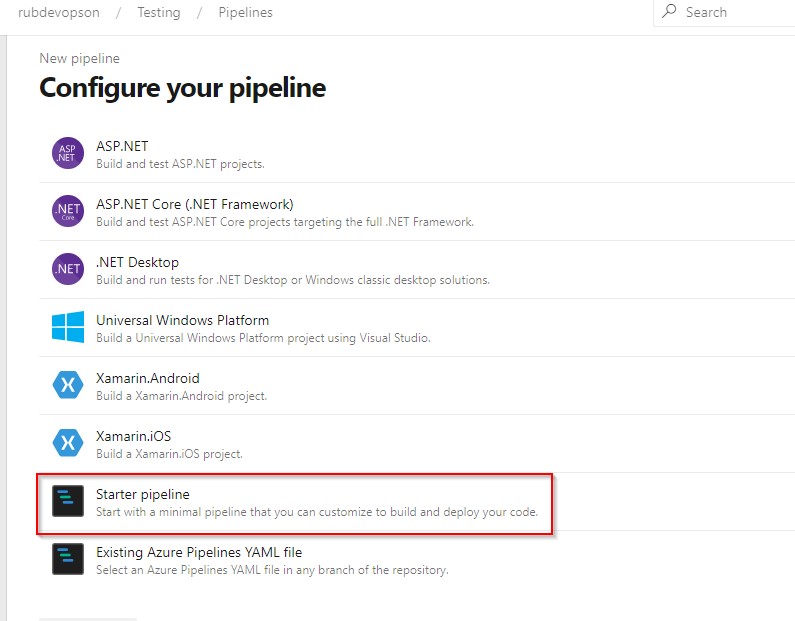
6. After selecting the repository click on Starter Pipeline. You can also try customizing the template provided by Microsoft according to your application.
7. Clear the contents of the starter pipeline, then copy the following YAML script to your pipeline.
trigger:
- master
pool:
  vmImage: 'windows-latest'
steps:
- task: CredScan@2
- task: SdtReport@1
  inputs:
    TsvFile: false
    AllTools: false
    BinSkim: false
    CredScan: true
    MSRD: false
    RoslynAnalyzers: false
    TSLint: false
    ToolLogsNotFoundAction: 'Standard'
- task: PublishSecurityAnalysisLogs@2
  inputs:
    ArtifactName: 'CodeAnalysisLogs'
    ArtifactType: 'Container'
    AllTools: false
    AntiMalware: false
    BinSkim: false
    CredScan: true
    MSRD: false
    RoslynAnalyzers: false
    TSLint: false
    ToolLogsNotFoundAction: 'Standard'
8. Click on Save and Run.

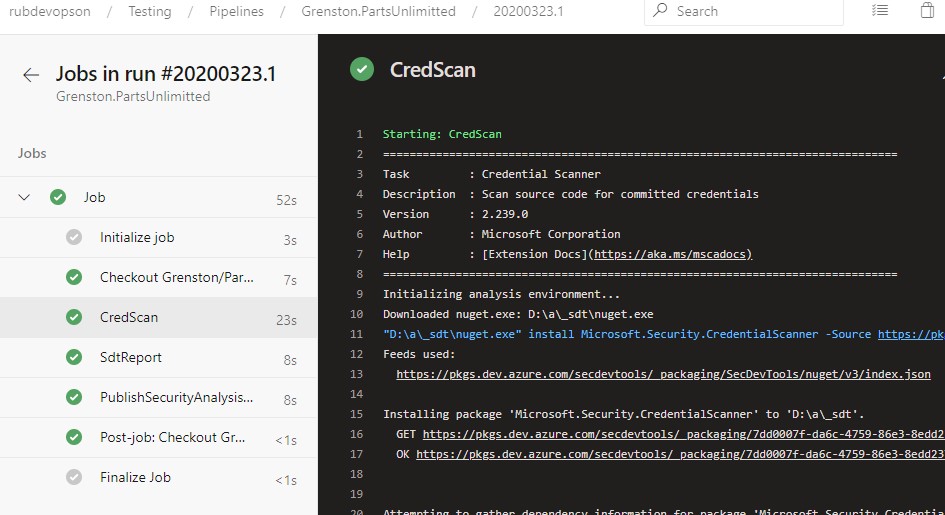
9. You can view the live logs of the CredScan in Azure DevOps.
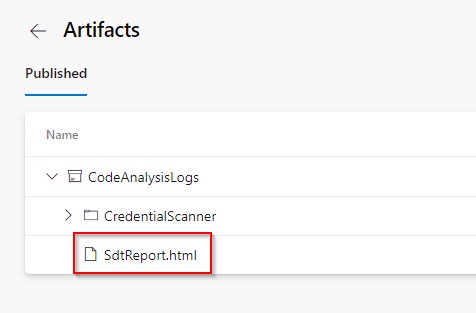
10. After the run completes, you can find the Credential Scanner Report as an Artifact published.
11. You can download the report if required, it looks like the one below.

12. Congrats!!! You have successfully completed CredScan. You can integrate this report with your existing build pipeline if required.