The Eclipse IDE provides support for the Git version control system. You can easily perform the necessary Git commands like staging, commit, merge, pull and push via the Eclipse IDE. Git is pre-installed in Eclipse IDE. If git is not installed by default, go to Help > Eclipse Marketplace and install git explicitly.
1. Git Cloning Process: –
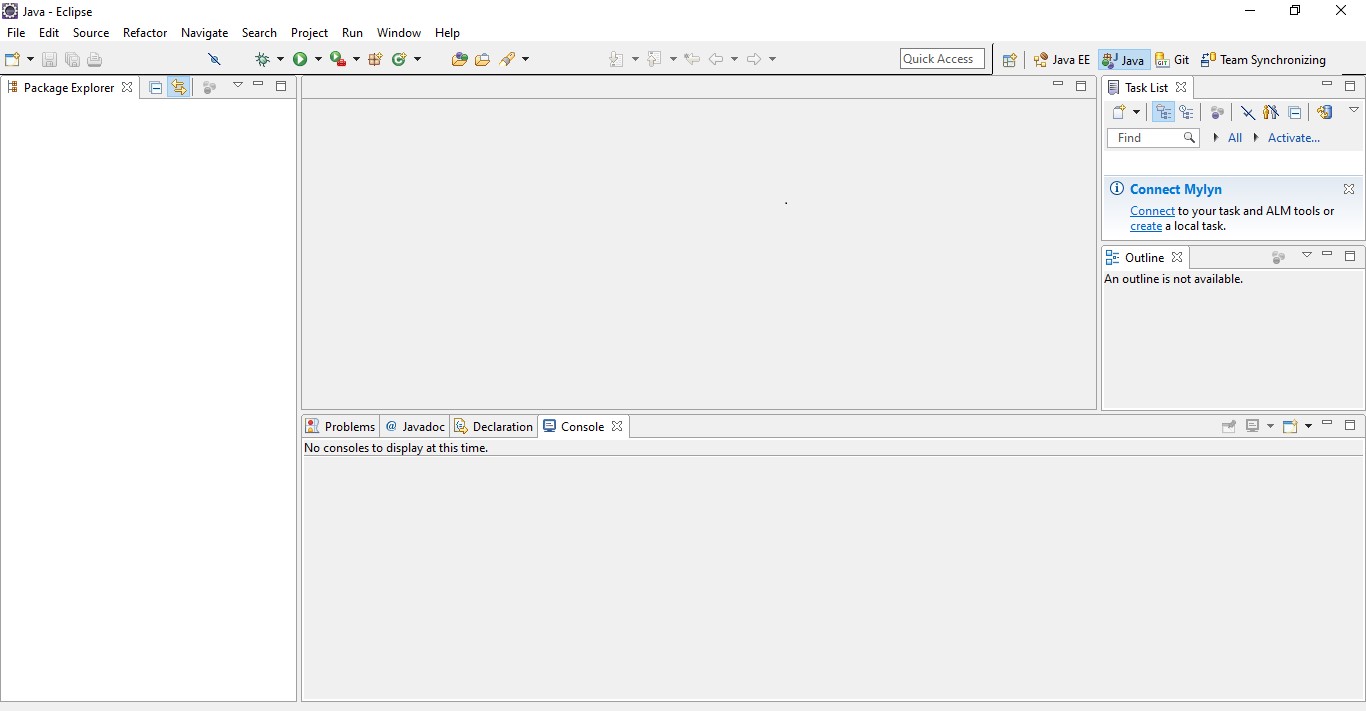
- This tutorial describes the usage of Git with version 4.4 of the Eclipse IDE. The home page for the Eclipse IDE appears as follows.
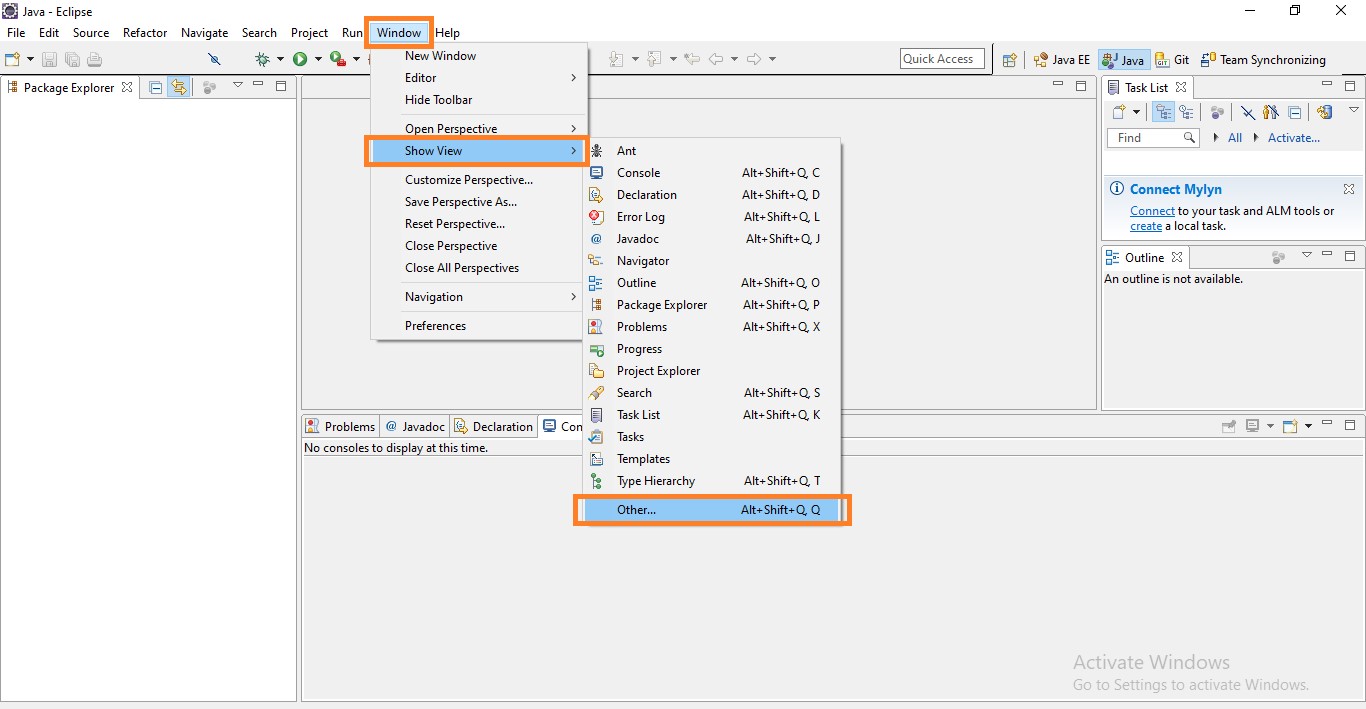
2. In the Eclipse Home page, we won’t find any git related options. So, we need to select ‘Window > Show View > Other’ option to open ‘Show View’ dialog box then type ‘Git’ in search bar. Now, you will see ‘Git’ options as below.
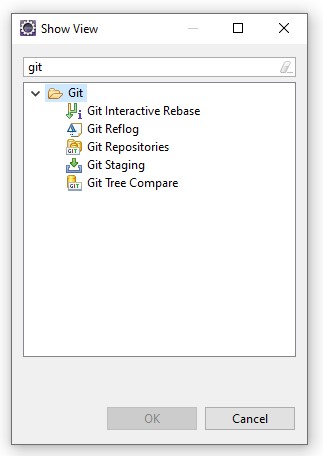
3. From ‘Show View’ dialog box, select the necessary options such as ‘Git Repositories, Git Staging’ as shown below to display git options in the Eclipse Home Page.

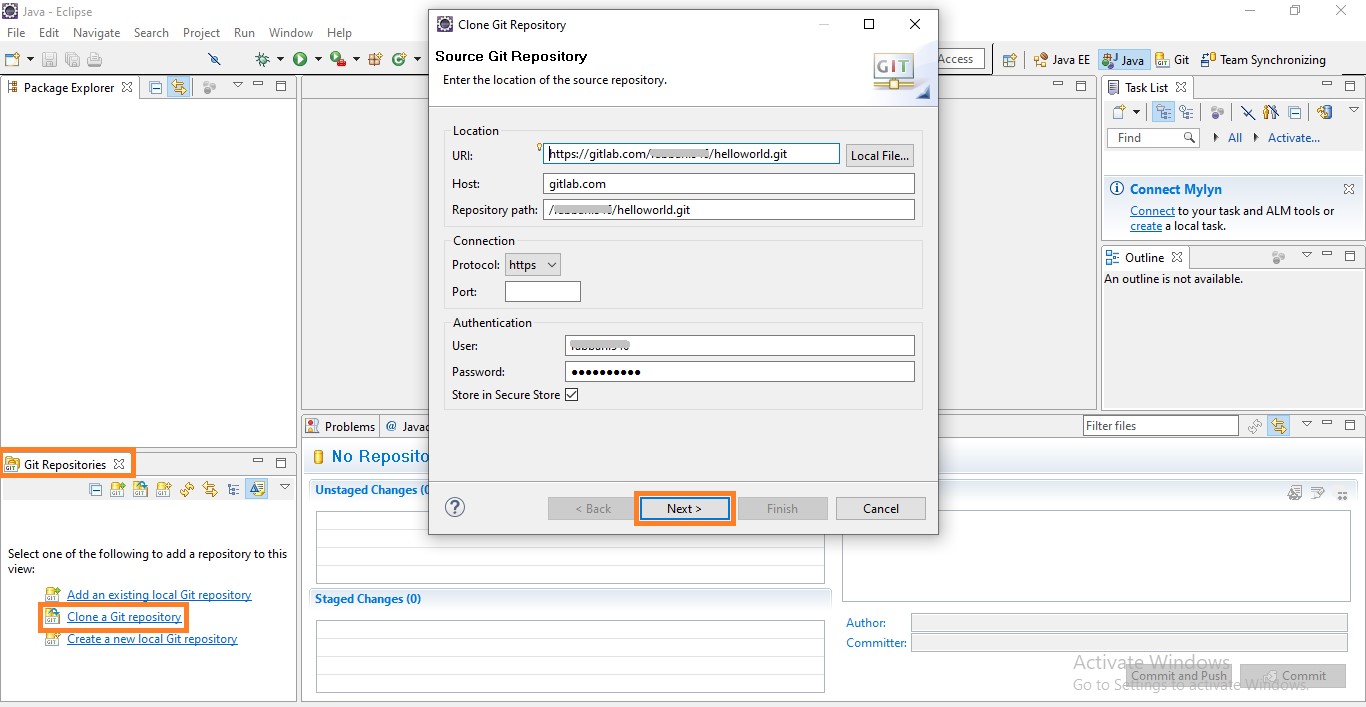
4. To Clone a remote repository using Git URL, Select the ‘Clone a Git Repository’ option from ‘Git Repositories’ and fill out the required details like URL, authentication etc. as follows, then select ‘Next > Next > Finish’ option.
5. Once the cloning is finished, the remote repository will display as follows in ‘Git Repositories’ Section.

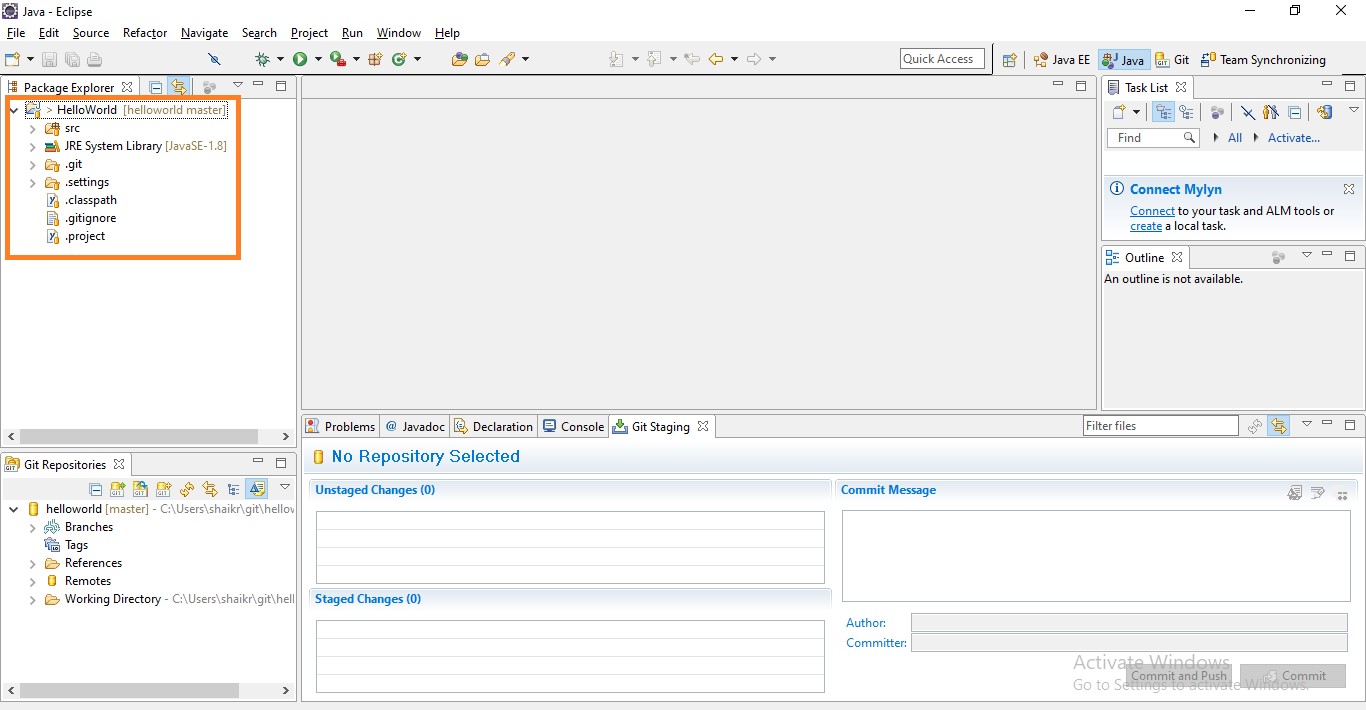
6. Now, we need to import the same git repository into ‘Package Explorer’ section. Right click in ‘Package Explorer’ section > select ‘Import’ option and type ‘Git’ in the search bar, then select ‘Projects from Git > Next > Existing Local Repository > Next > Select a git repository > Next > Finish’ option and the project appears as follows in the ‘Package Explorer’ section.
2. Git Operations (Commit, Push, Pull and Fetch): –
- Using the ‘Git Staging’ view, we can commit and push the changes into Local/Remote repository. All the new/modified files appear in the ‘Unstaged changes’ area. Drag all files into the ‘Staged Changes’ area, write a meaningful commit message and press the ‘Commit’ button.

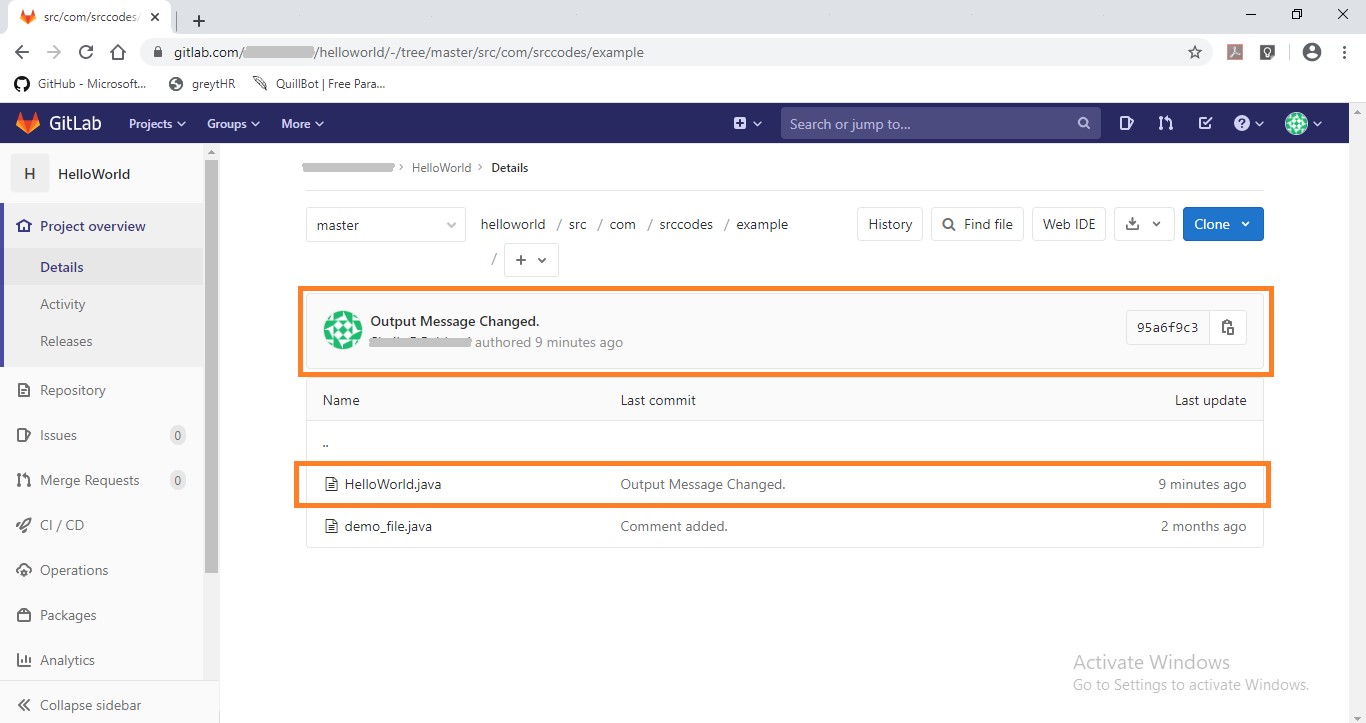
2. Let’s make some changes like modifying the output message in the ‘HelloWorld.java‘ file (e.g. inserted Canarys Output line), as shown below. Drag the file into the ‘Staged Changes’ area, write a meaningful commit message and press the ‘Commit and Push’ button. Also, check the changes reflected in the remote repository page below.

3. Git operations (such as commit, pull, push and fetch etc.) can also be performed from ‘Git Repositories’ section as shown below. Right click on your repository of ‘Git Repositories’ and select the appropriated operation.

4. Basic team operations (such as commit, pull, push and fetch etc.) can also perform from ‘Package Explorer’ section as shown below. Once you have placed a project under version control you can start using team operations on your project. The team operations are available via right-click on your project or file in ‘Project Explorer’ section.

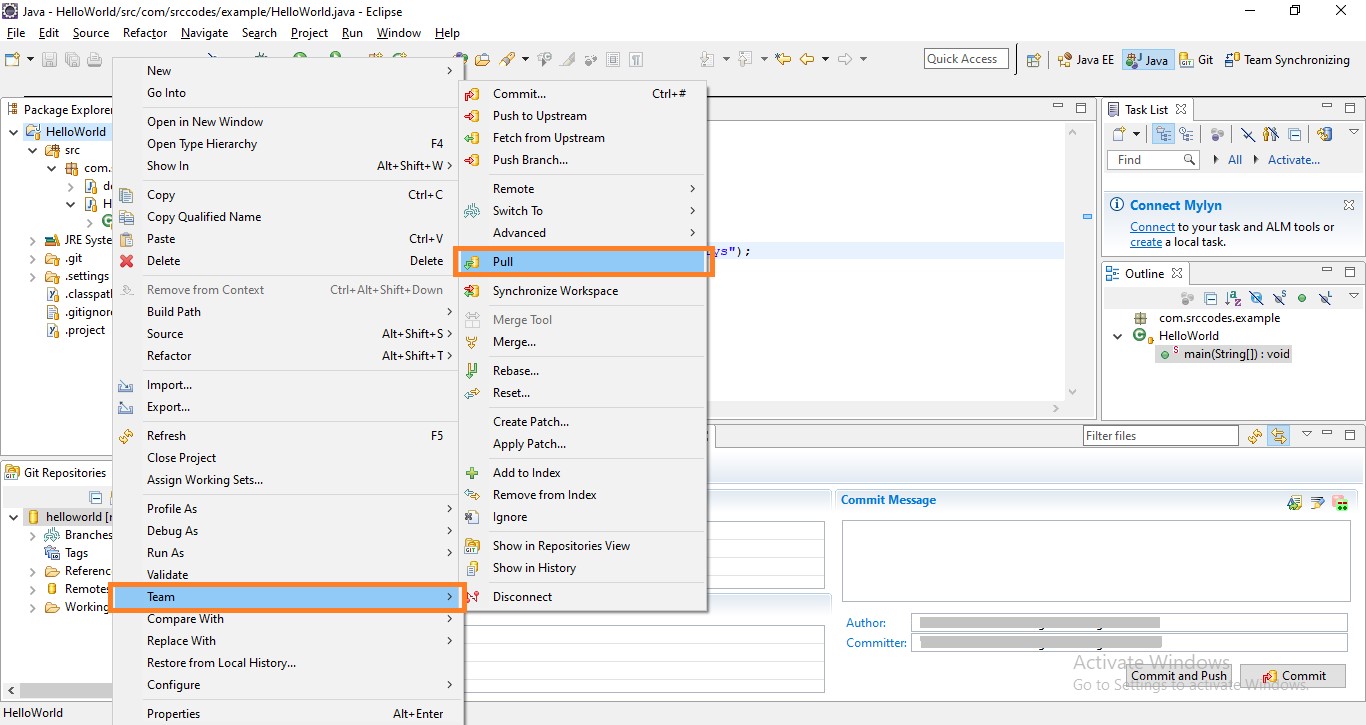
5. Pulling changes made by other project team members. The image below shows changes that are pulled from remote repository. Go to ‘Package Explorer‘ section and Select ‘Team > Pull’ Options.
3. Creating and Switching Git Branches: –
1. To create a new branch, Right-click on your project and select ‘Team > Switch To… > New Branch’ option then give the branch name as well. You can also create branches in the ‘Git Repositories’ view.

2. To switch the branches, Right-click on your project and select ‘Team > Switch To… > master’ (select the branch which you want to switch). You can also switch branches in the ‘Git Repositories’ view.

4. Solving Conflicts:
Whenever two team members of the team change the same file, conflicts may occur. So, we need to fix such conflicts manually.
1. Let’s take an example of ‘HelloWorld.Java’ file only. Suppose Person A makes changes and Person B also makes changes to the same file, then there can be conflicts as shown below.
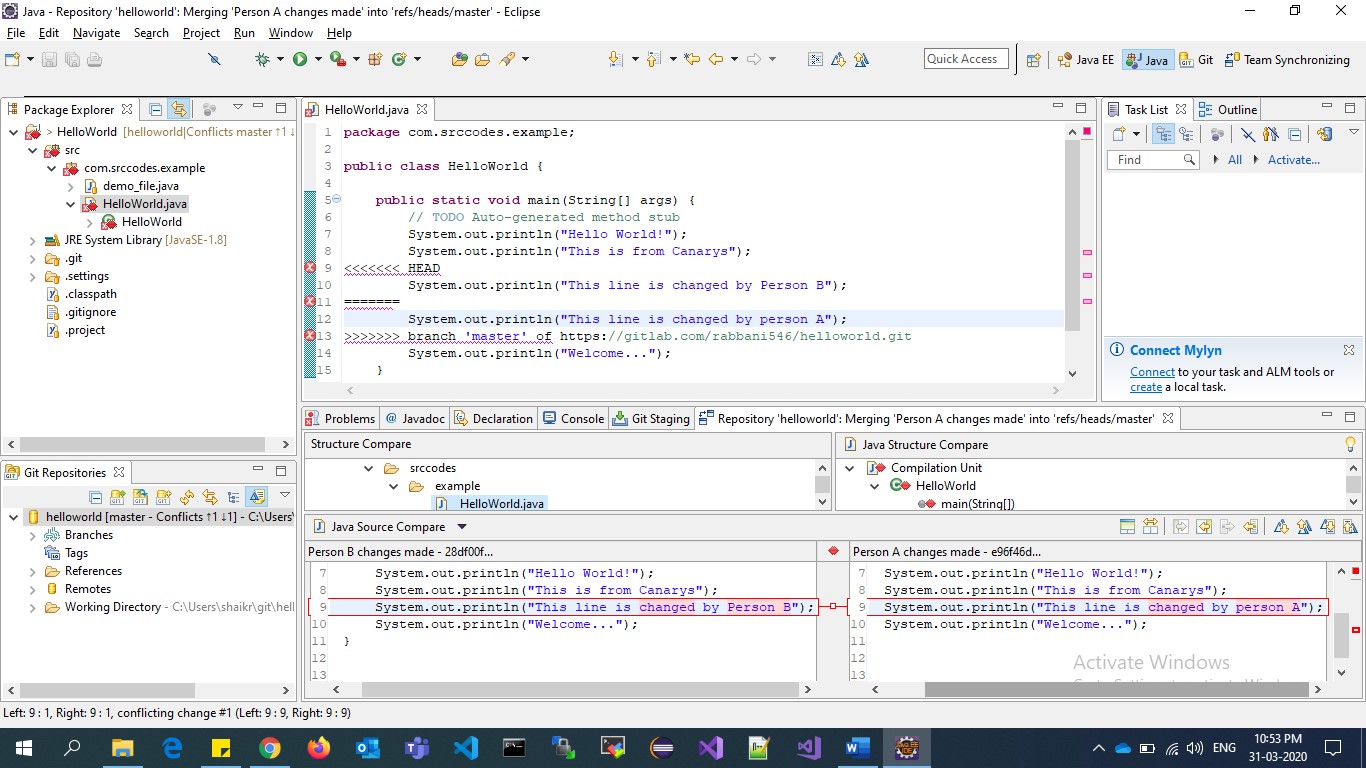
Let’s take an example of ‘HelloWorld.Java’ file only. Suppose Person A makes changes and Person B also makes changes to the same file, then there can be conflicts as shown below.

2. After the changes have been manually merged/fixed, save the file to mark the conflicts as resolve and commit the merge commit from ‘Team > Commit’ option.
