Overview
We will deploy ASP.NET web application to web apps in Azure App Service by using Visual Studio. In result, we will have simple web application up and running in cloud.
Pre-requisite
- Visual Studio
- Microsoft Azure Subscription
Setting up development environment
To start, set up development environment by installing Azure SDK for Visual Studio.
Creating project and web app
Our first step is to create web project in Visual Studio and web app in Azure App Service. When that’s done, we’ll deploy project to web app to make it available on Internet.
1) Open Visual Studio
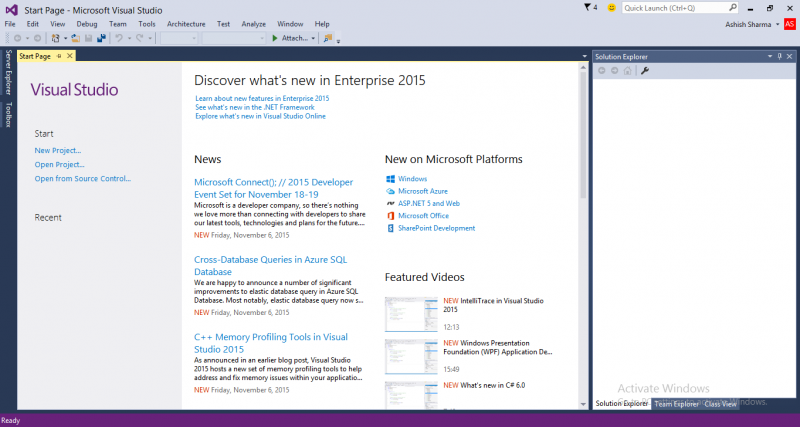
2) From File menu, click New >> Project.
3) In New Project dialog box, click C# >> Web >> ASP.NET Web Application. If we prefer, we can choose Visual Basic. Make sure that .NET Framework 4.5.2 is selected as target framework. Azure Application Insights monitors your web app for availability, performance and usage. Clear Add Application Insights to Project check box if we don’t want to try it. Name the application. Click OK.

4) In New ASP.NET Project dialog box, select MVC template.
MVC is ASP.NET framework for developing web apps.
5) Click Change Authentication.

6) In Change Authentication dialog box, click No Authentication and click OK. Application that we’re creating won’t enable users to log in.

7) In New ASP.NET Project dialog box, leave settings under Microsoft Azure unchanged and click OK. Default settings specify that Visual Studio will create Azure web app for our web project.

8) If we haven’t signed in to Azure, Visual Studio prompts us to do so. Sign in with ID and password of account that we use to manage our Azure subscription.
When we’re signed in, Configure Microsoft Azure Web App Settings dialog box asks us what resources we want to create.
9) In Configure Microsoft Azure Web App Settings dialog box, enter Web App name that is unique in azurewebsites.net domain. If default web name is created for us, it will be unique and we can use that.
If someone else, already used the name that we enter, we’ll see a red exclamation mark to the right instead of green check mark and we’ll need to enter different name.
Azure will use this name as the prefix for our application’s URL. The complete URL will consist of this name plus .azurewebsites.net. URL has to be unique.
10) In App Service plan drop-down, select Create new App Service plan. Enter name, for the plan. In Resource group drop-down, select Create new resource group. Enter name, for resource group. In Region drop-down list, choose location that is closest to us.
This setting specifies which Azure datacentre our web app will run in.
11) Leave database field unchanged. Click OK. In few seconds, Visual Studio creates web project in folder that we specified and it creates web app in Azure region that we specified.
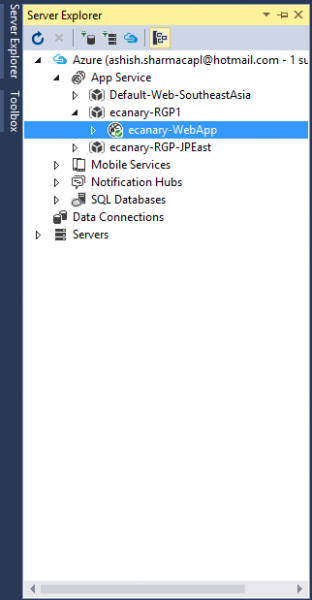
Solution Explorer window shows files and folders in new project. Azure App Service Activity window shows web app has been created. And we can see web app in Server Explorer.

Deploy project to web app
1) In Solution Explorer, right-click project and choose Publish. In few seconds, Publish Web wizard appears. Wizard opens to publish profile that has settings for deploying web project to new web app. If we wanted to deploy to a different web app, we could click Profile tab to create different profile.
2) On Connection tab of Publish Web wizard, click Next.

3) On Settings tab, click Next.
We can accept default values for Configuration and File Publish Options.
We can use Configuration drop-down to deploy Debug build for remote debugging.

4) On Preview tab, click Publish.
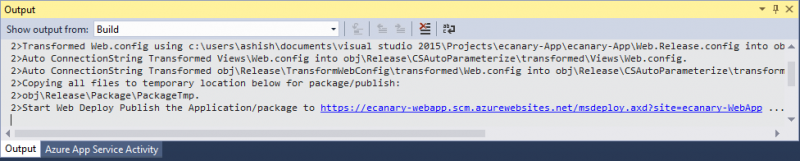
If we want to see what files will be copied to Azure, we can click Start Preview before clicking Publish. When we click Publish Visual Studio begins process of copying files to the Azure server.
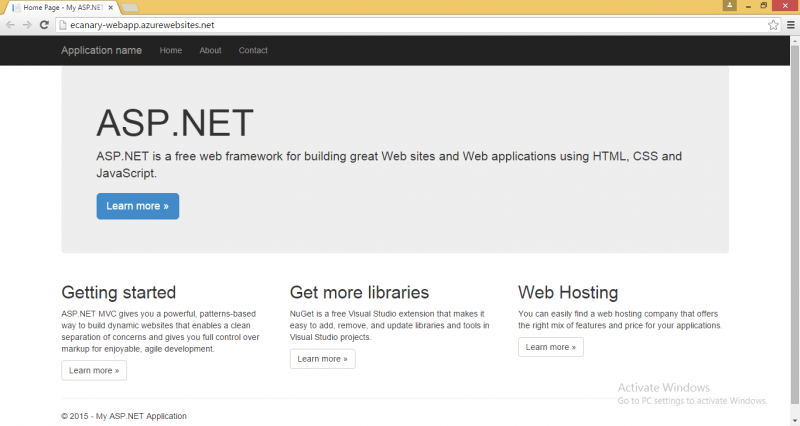
Output and Azure App Service Activity windows show what deployment actions were taken and report successful completion of deployment. Upon successful deployment, default browser automatically opens to URL of deployed web app, and application that we created is now running in cloud. The URL in browser address bar shows that web app is loaded from Internet.


5) Keep this browser window open for use in next section.
Tip: We can enable Web One Click Publish toolbar for quick deployment. Click View >> Toolbars and select Web One Click Publish. We can use toolbar to select profile, click button to publish or click button to open Publish Web wizard.

Open remote files in Server Explorer
When we’re testing and debugging web app, we can do quick temporary changes on remote site by opening and editing files in Server Explorer.
1) In Server Explorer, navigate to Azure >> App Service and expand node for our web app.
2) Expand Files >> Views >> Home and double-click Index.cshtml file.


3) Change
ASP.NET

4) Save file.

5) Refresh browser window that has site running in Azure. This change is now in deployed site but not local project. If we redeploy project, site will revert to way it was before we made this change.
This feature is handy for temporarily turning off customErrors in Web.config file in order to get a detailed error message.

In Server Explorer we can also right-click web app node and get access to web app settings in Visual Studio window, start remote debugging session and view application logs in real time as application writes them.

Monitor and manage web app in Azure portal
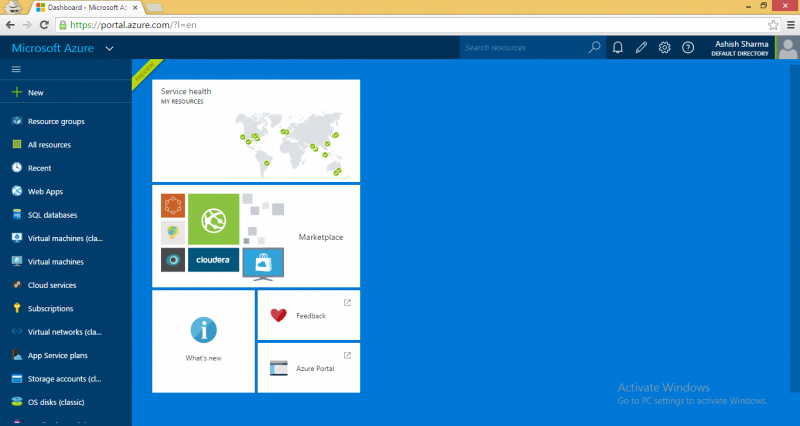
Azure portal is web interface that we can use to manage and monitor our Azure services.
1) In our browser, log in to http://portal.azure.com
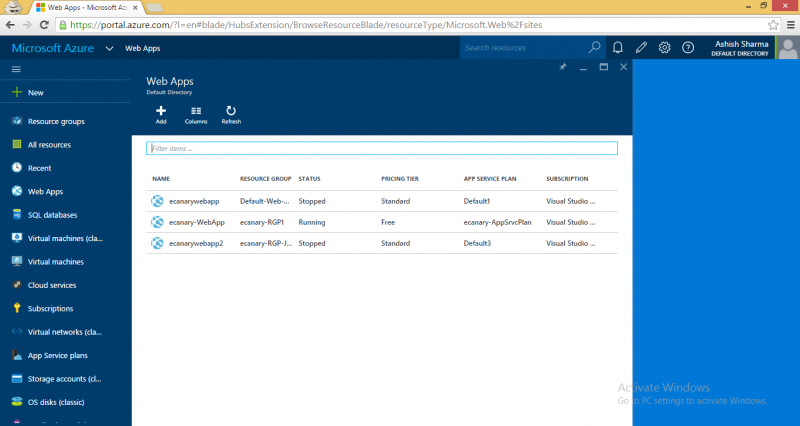
2) Click Web Apps and click name of our web app.
The Web app blade displays overview of settings and usage statistics for our web app. At this point, our web app hasn’t had much traffic and may not show anything in graph. If we browse to our application, refresh page few time and refresh the portal page, we’ll see some statistics show up.
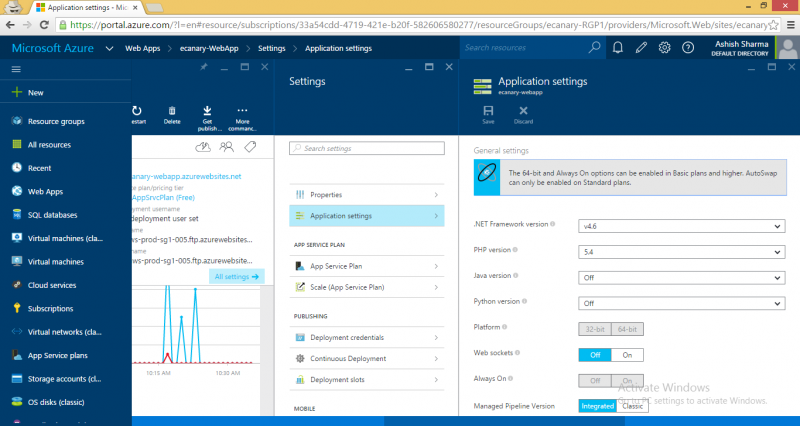
3) Click Settings to see more options for configuring our web app.
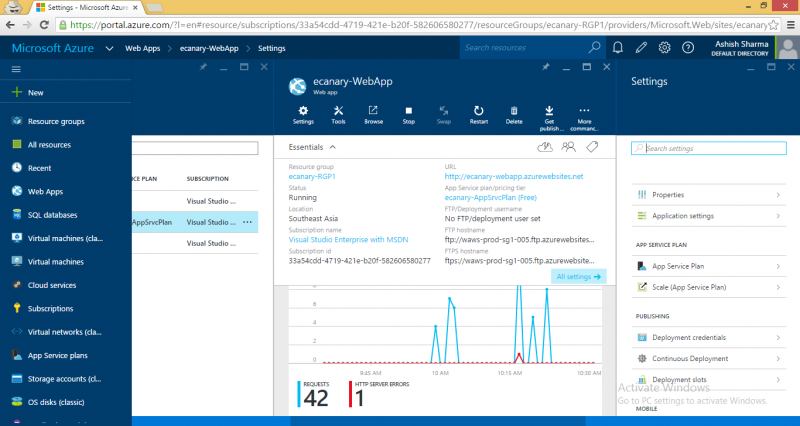
4) Click Application settings to see the kinds of settings that we can configure in portal.
These are just a few of the portal’s features. We can create new web apps, delete existing web apps, stop and restart web apps and manage other kinds of Azure services.