Hi ya’ll, in this post I am gonna show you how to migrate work items from 1 Team Project (TP) to another TP in VSTS using the vsts work item migrator tool. WiMigrator is a command line tool designed to Migrate work items from one VSTS/TFS project to another.
In order to do so, below are the list of prerequisites.
- VSTS Account
- VSTS Work Item Migration tool, you can download it from [here](https://github.com/Microsoft/vsts-work-item-migrator)
Step 1: Prepare work items to migrate in VSTS
1. Locate the work items to be migrated from your source TP. In this example, let us consider the source TP by the name WISource.

2. We have 2000+ work items to be migrated as shown below.

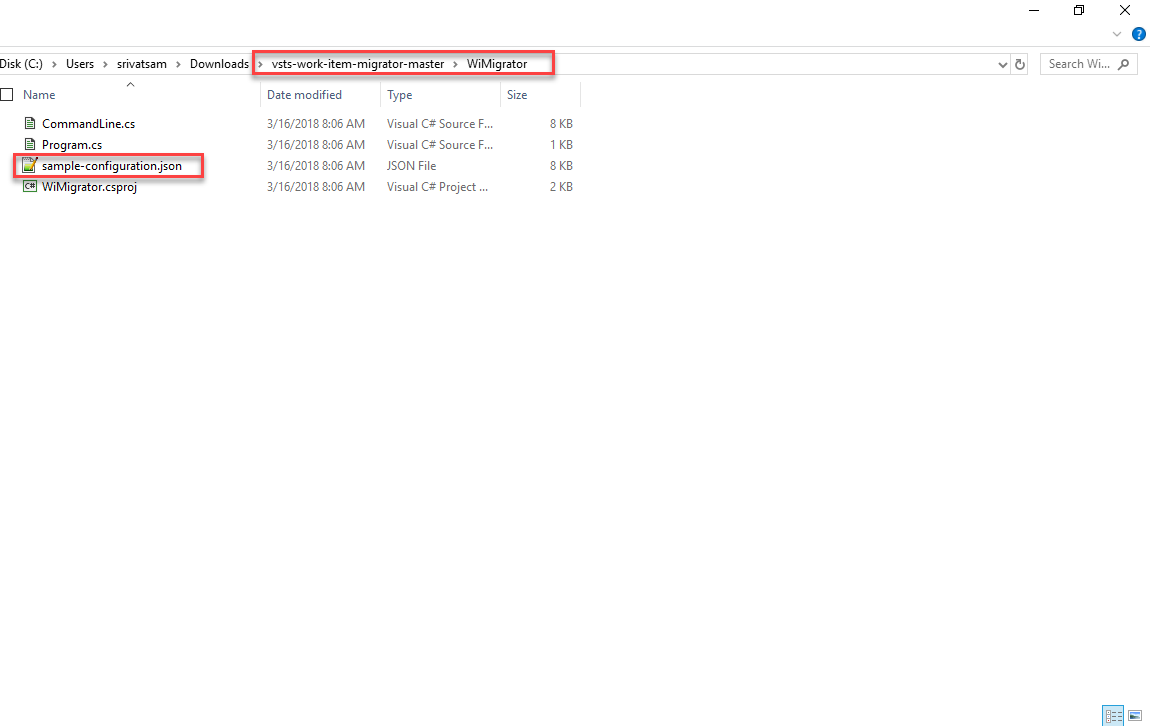
3. Download the migration tool and locate the file sample-configuration.json which is located in the path vsts-work-item-migrator-masterWiMigrator.
Step 2: Configure the JSON
In this step, let us configure the JSON file required to migrate the work items.
1. Open the sample-configuration.json and modify the below highlighted sections as shown below-
- Source account detials are as follows:
account: fully qualified url for the source account for example https://YOUR_VSTS_ACCOUNT.visualstudio.com
project: The name of the Team Project to migrate from
access-token: The personal access token to use when accessing the account. This requires work item read permissions to all work items that are expected to be migrated
- Target account details are as follows:
account: fully qualified url for the target account for example https://YOUR_VSTS_ACCOUNT.visualstudio.com
project: The name of the Team Project to migrate to
access-token: The personal access token to use when accessing the account.
query: the name of the query to use for identifying work items to migrate. Must be a flat query.
skip-work-items-with-missing-area-path: Set this value to true. When the value is true, will skip the work item if the area path does not exist in the target account.
skip-work-items-with-missing-area-path: Set this value to true. When true, will skip the work item if the iteration path does not exist in the target account.
- Email Notifications: By default the value is set to true, since in this post we are only concentrating on migration we would be setting the value to false as we do not want the notifications to be sent.

2. Once the settings are done, save the changes.
Step3: Validate
WiMigrator checks the consistency by validating the metadata between the source and target project.
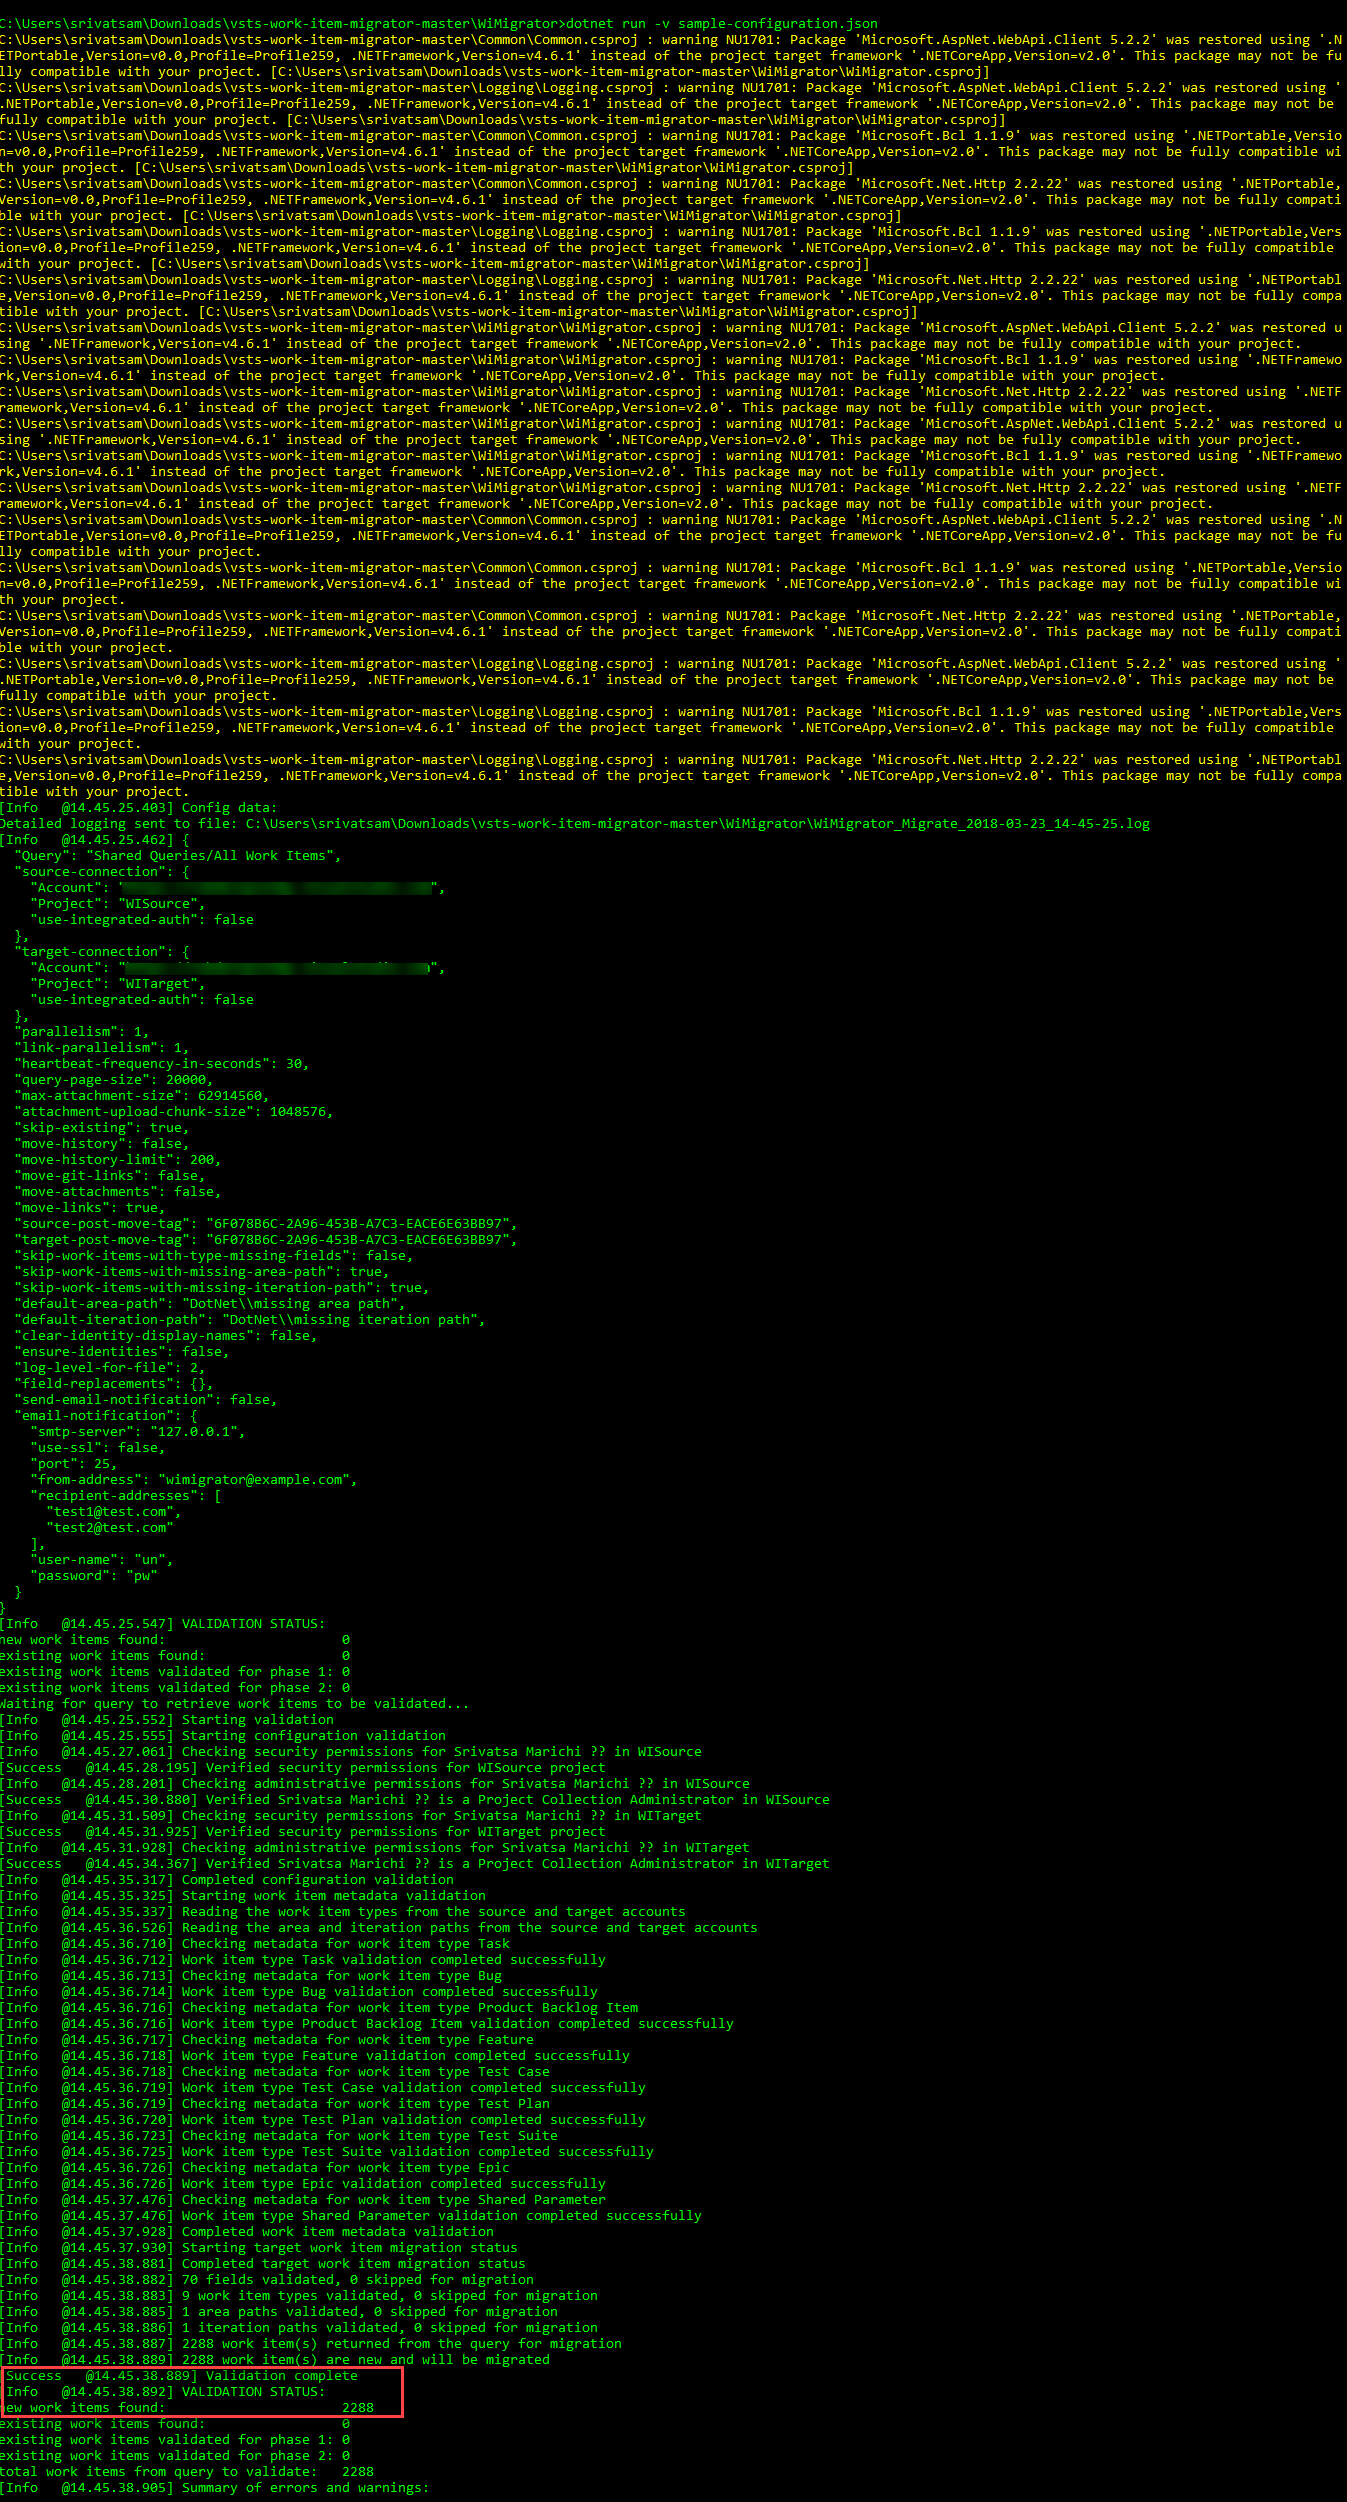
1. Launch the commandline from the downloaded path and run the below command to validate.
dotnet run -v sample-configuration.json

2. Upon the command execution, you will be notified with a successful message to go ahead and proceed with the migration. If not you may have to recheck the settings in the configuration file and re validate.
Step4: Migrate
Now that we have validated successfully in the above step, let us proceed with the migration.
1. Run the below command in order to migrate the work items.
dotnet run -m sample-configuration.json

2. Upon the command execution, you will be notified with a successful message of work items migrated.

Step 5: Verify
Now that the migration is successful, verify by navigating to the target Team Project in your VSTS. You will see 2000+ work items being migrated.

Happy migrating